Why Connect Your Mini PC to an Extended Display?
In today’s digital workspace, productivity depends heavily on screen real estate. A Mini PC offers compact computing power, but pairing it with an extended display transforms your setup into a powerful workstation. Whether you’re a content creator, remote worker, or casual user, connecting your Mini PC to an extended display enhances multitasking capabilities and improves workflow efficiency.
Extended displays allow you to spread applications across multiple screens, reducing the constant switching between windows. This setup is particularly beneficial for professionals who need to reference documents while working on projects, or gamers who want additional monitoring tools visible at all times.
Essential Equipment for Mini PC Extended Display Setup
Before beginning the installation process, ensure you have all necessary equipment ready. A proper Mini PC extended display setup requires specific cables and ports to function correctly.
You will need two HDMI cables for video transmission. These cables carry both audio and video signals from your Mini PC to the extended display. Quality HDMI cables ensure stable connections and prevent signal interruptions during use.
Additionally, you need one Type-C cable for power delivery. This cable connects the extended display to a power source, ensuring consistent operation throughout your work sessions. Using a reliable power strip with surge protection is recommended to safeguard your equipment.
Step-by-Step Guide
Step 1 – Connecting the HDMI Cables
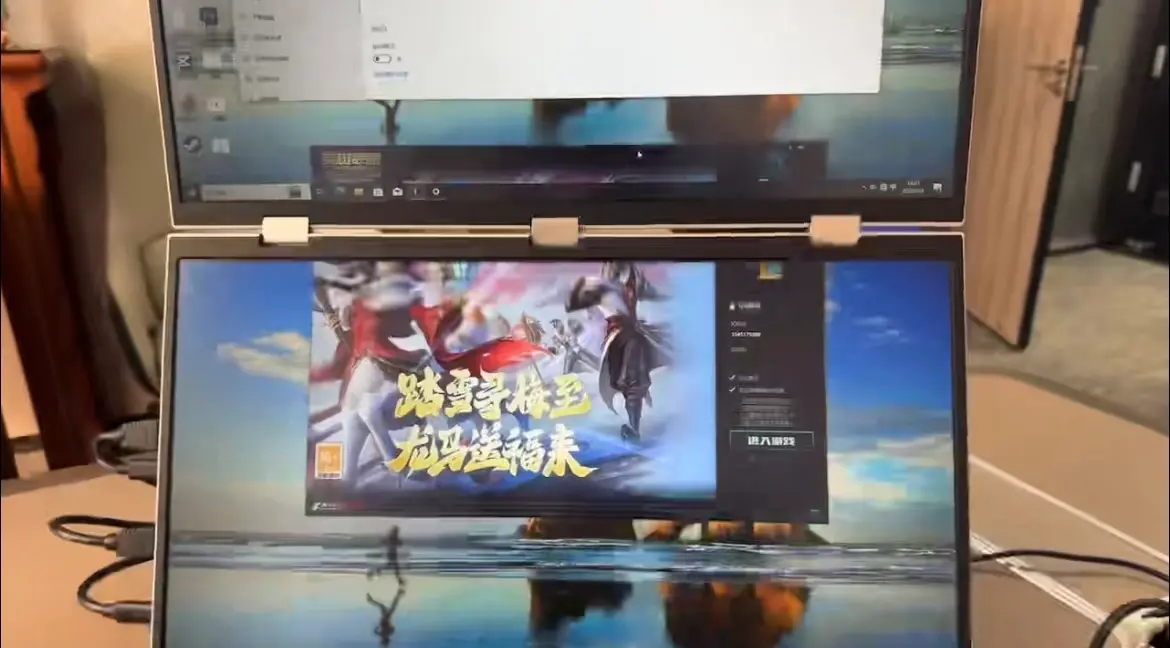
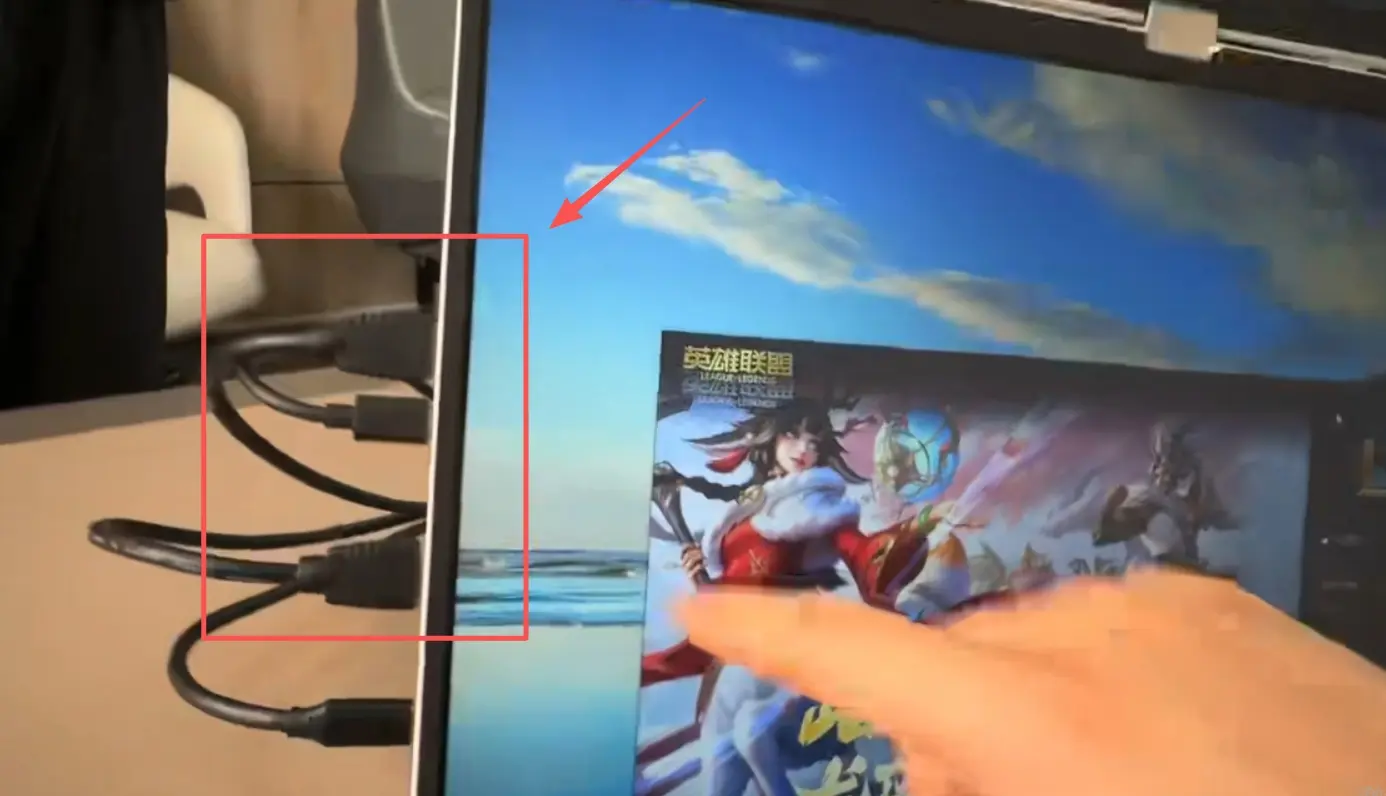
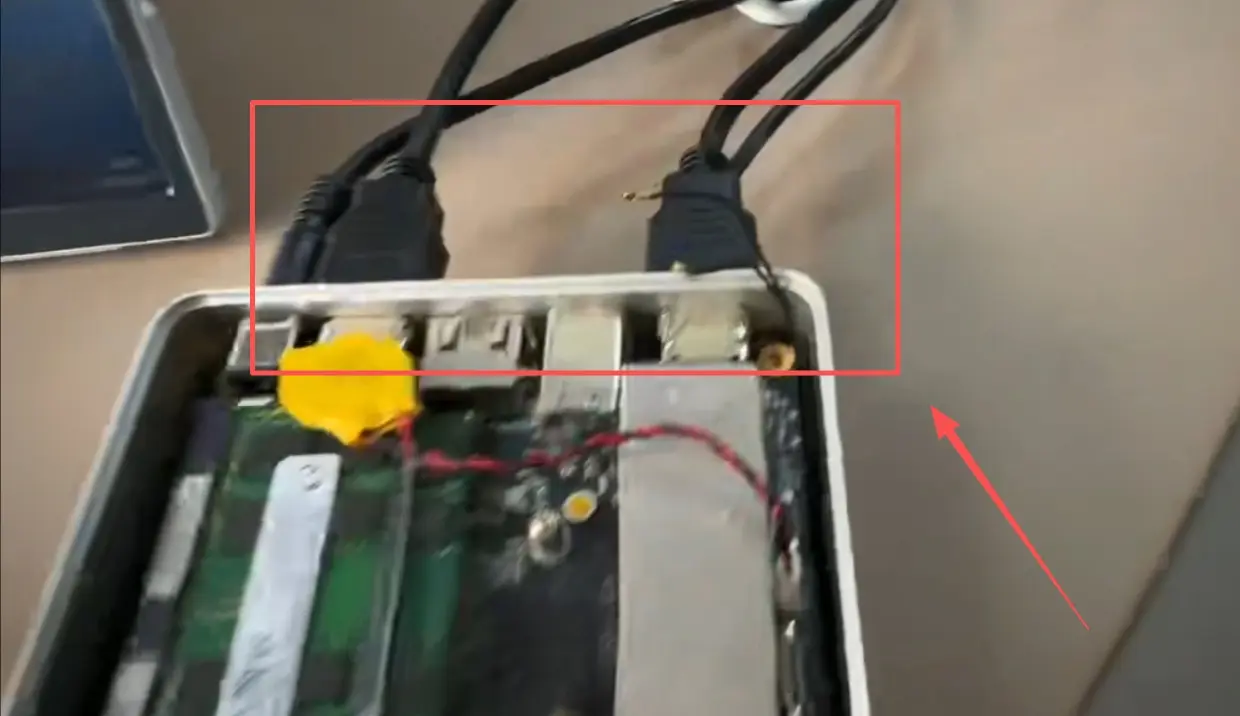
Begin by locating the two HDMI ports on the upper left side of your extended display. These ports are specifically designed for video input from your Mini PC.
Take both HDMI cables and insert them into these two ports securely. Ensure each cable clicks into place to guarantee a stable connection. Then, connect the other ends of both HDMI cables to the corresponding HDMI output ports on your Mini PC.
This dual HDMI connection enables your Mini PC to send separate video signals to different screen sections, maximizing your display’s potential.
Step 2 – Establishing Power Connection
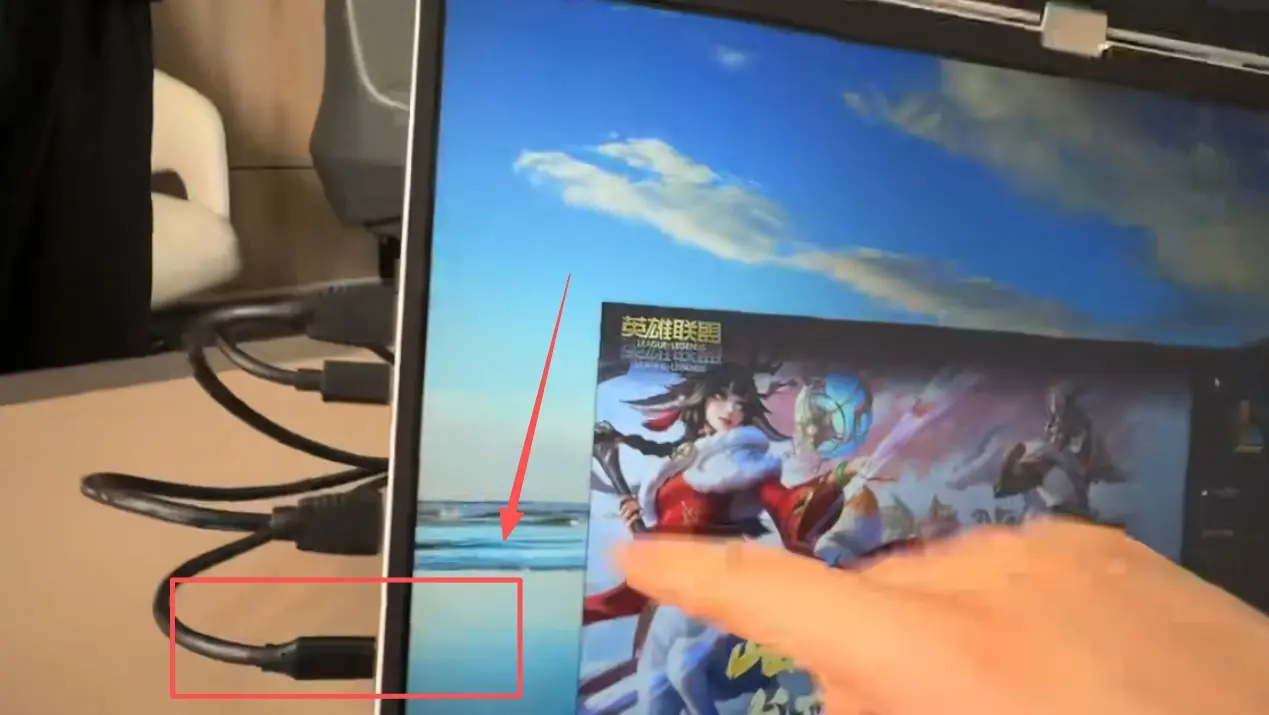
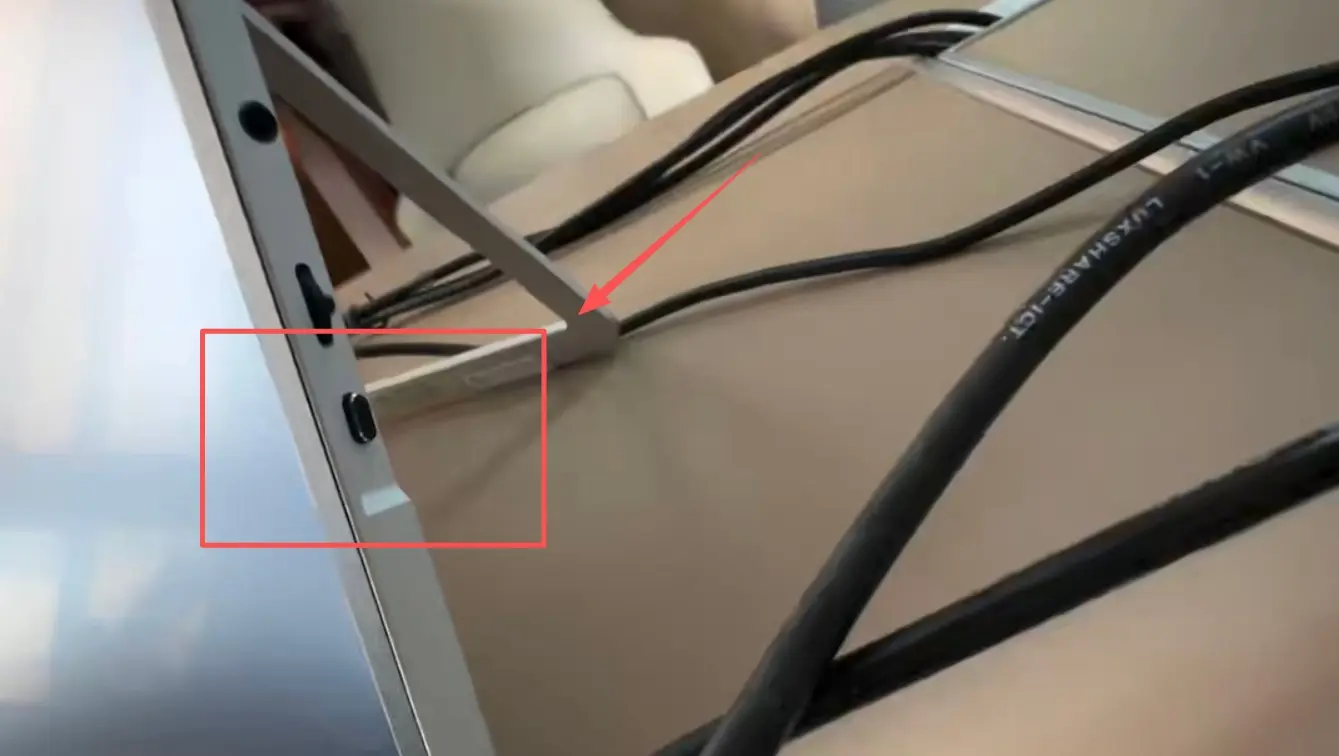
Locate the Type-C port at the bottom left side of your extended display. This port serves as the primary power input for the monitor.
Connect one end of your Type-C cable to this port. Plug the other end into a power strip or wall adapter to supply electricity to the display. A stable power connection is crucial for consistent screen performance.
Step 3 – Configuring Display Settings
After all cables are properly connected, locate the control button on the lower right side of your extended display. Press this button to power on the screen and access the settings menu.
Once the menu appears on screen, navigate downward through the options until you find the “Independent” mode setting. This mode allows each connected screen section to display separate content from your Mini PC.
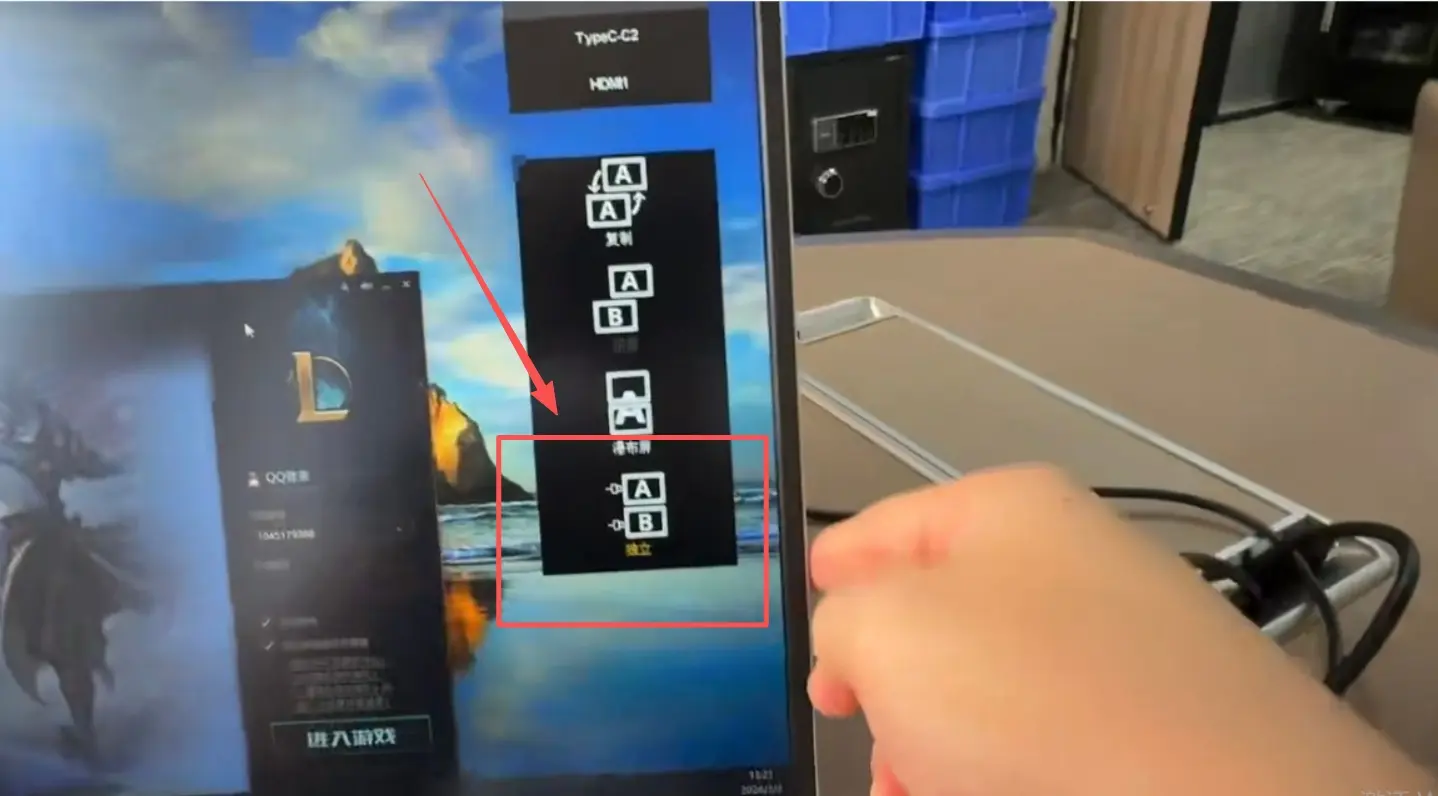
Step 4 – Finalizing the Configuration
Select the “Independent” option and confirm your choice. The display will apply these settings, and your extended screen setup should now be fully functional.
Test the configuration by moving windows between screens and ensuring both displays respond correctly to your Mini PC inputs. If any issues arise, check cable connections and restart the configuration process.