Why Upgrade Your Mini PC with an SSD Installation?
Storage management is essential for maintaining optimal Mini PC performance. Whether you’re running out of space or want to organize your files more efficiently, installing an SSD and creating partitions can dramatically improve your computing experience.
A Mini PC benefits greatly from proper storage configuration. Unlike traditional desktops with multiple drive bays, Mini PC systems require careful planning to maximize limited storage capacity. Partitioning your drive allows you to separate system files from personal data, improving both organization and security.
Many users purchase a Mini PC with a single partition, meaning the operating system and personal files share the same space. This configuration can lead to slower performance over time and makes system recovery more complicated. By creating separate partitions, you protect your data and maintain system efficiency.
Partitioning also simplifies backup procedures. When your Mini PC has dedicated partitions for different purposes, you can back up specific sections without duplicating unnecessary files. This approach saves time and storage space on external backup devices.
Guide to Install An SSD On A Mini PC
Before beginning the installation process, ensure your Mini PC is completely powered off. Gather a small Phillips screwdriver suitable for electronics. Working on a clean, static-free surface protects your Mini PC components from damage.
Locate the screws on the outer edges of your Mini PC back panel. Once all screws are removed, gently lift off the back panel to expose the internal components.
Identify the SSD slot inside your Mini PC. Align your solid-state drive with the slot at the correct angle, typically around 30 degrees. Carefully insert the SSD into the slot until it connects firmly with the interface. Press down gently and secure the SSD with the mounting screw to prevent movement.
After the SSD is properly secured, replace the back panel on your Mini PC. Reinsert all screws and tighten them evenly to ensure a secure fit. Your hardware installation is now complete, and you can proceed to software configuration.
Step-by-Step Guide to Partition Your Mini PC Drive
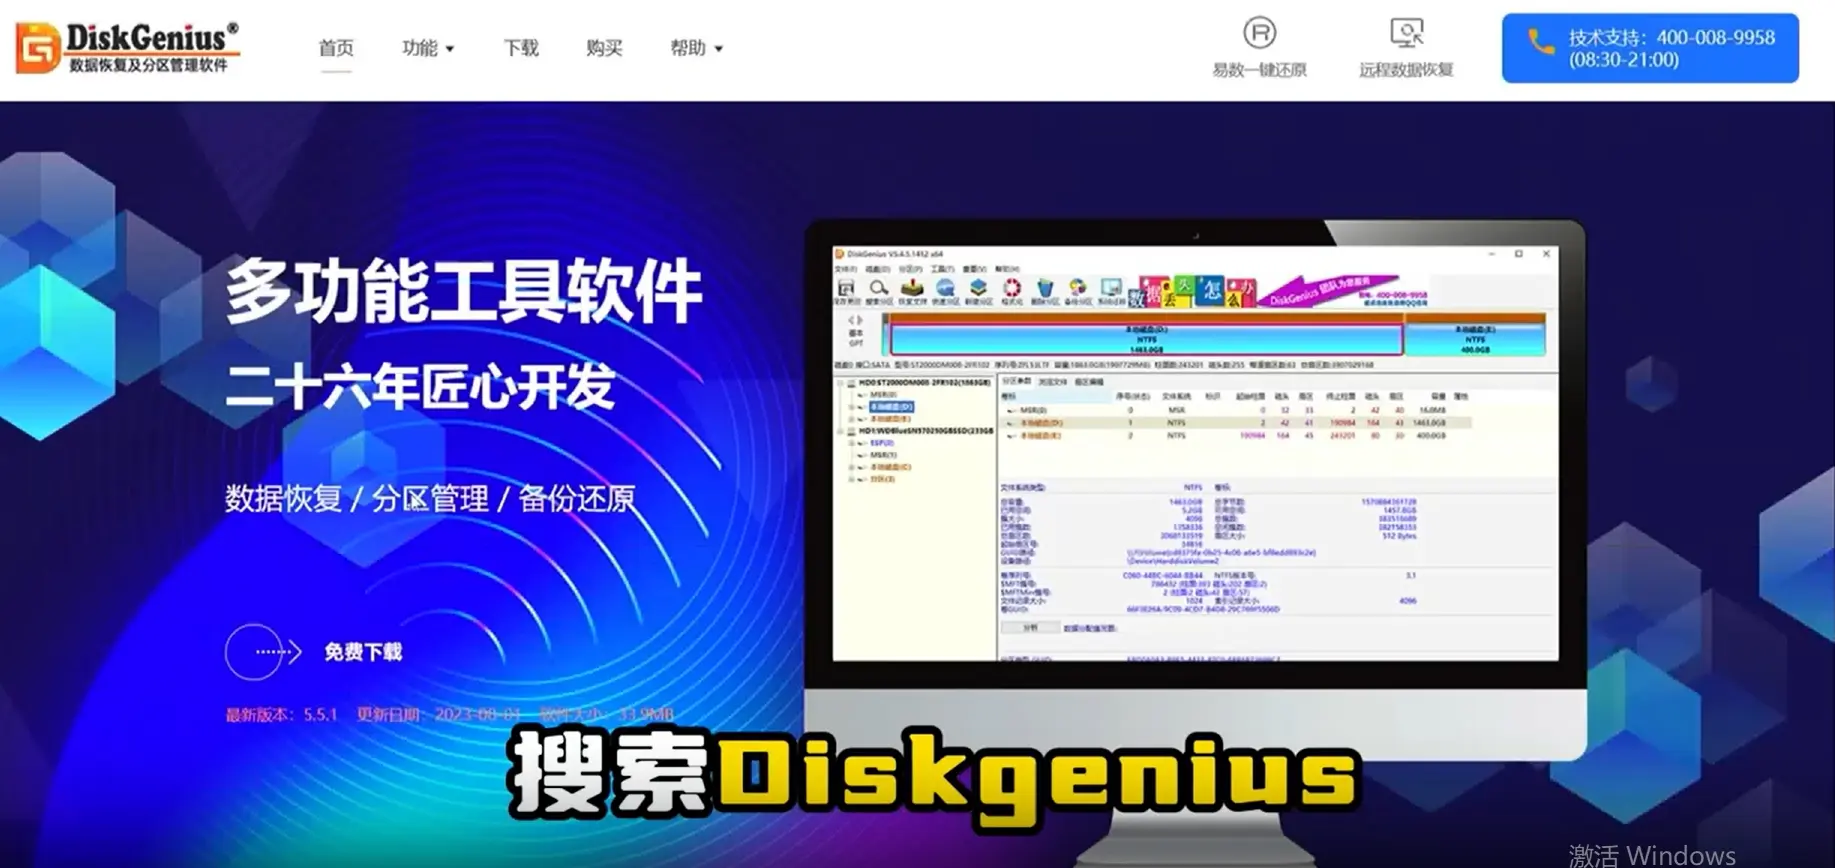
Step 1 – Finding DiskGenius Official Website
Open your preferred web browser and search for “DiskGenius.” Look through the search results carefully and click on the official DiskGenius website. Using official sources protects your Mini PC from potentially harmful third-party modifications or malware.
Step 2 – Downloading the Correct Version
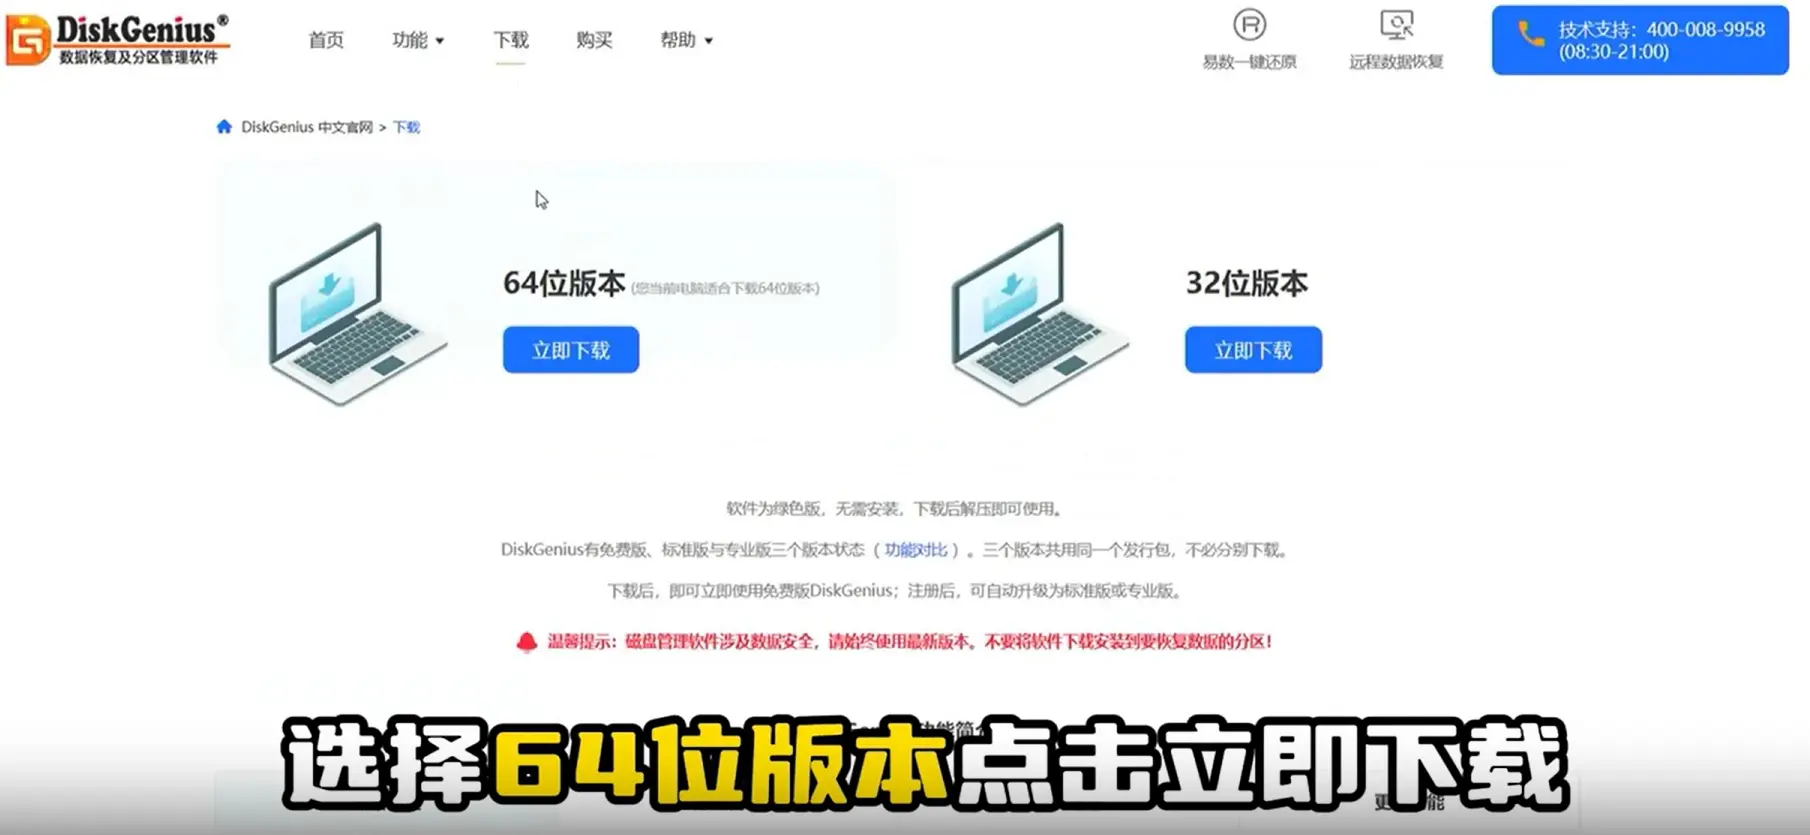
Once on the DiskGenius official website, locate the download section at the top of the page. You will see multiple version options available for download.
Select the 64-bit version for compatibility with modern Mini PC systems. Click the “Download Now” button to begin downloading the software immediately. Most Mini PC configurations run 64-bit operating systems, making this version the appropriate choice.
Step 3 – Installing DiskGenius on Your System
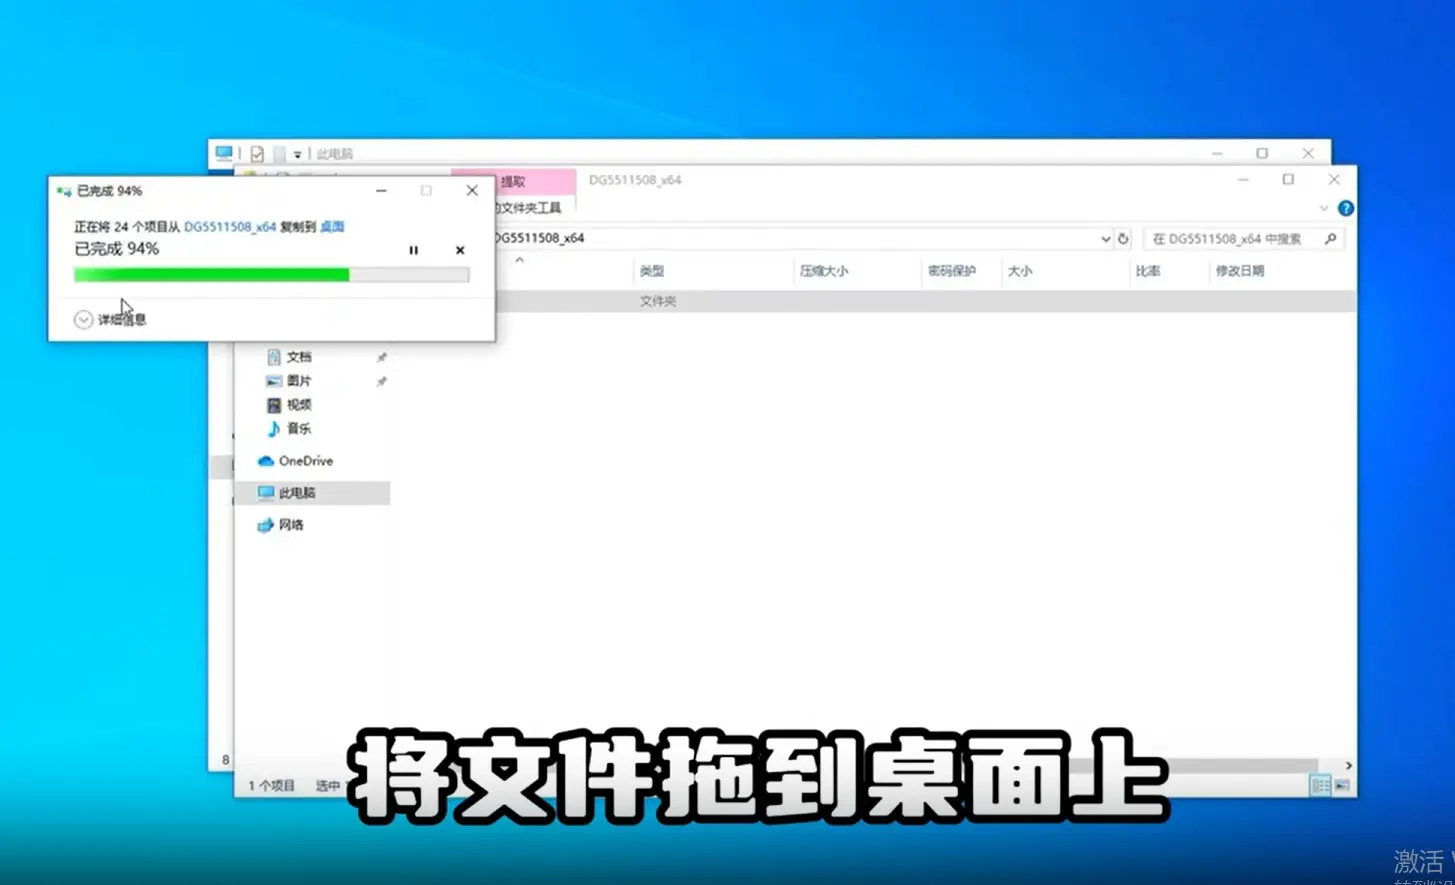
After the download completes, locate the installation file in your downloads folder. Drag the file to your desktop for easy access.
Double-click the file to launch the installer. Read through the license agreement carefully, then accept the terms to proceed with installation. The software will install quickly on your Mini PC system.
Step 4 – Selecting the Target Drive
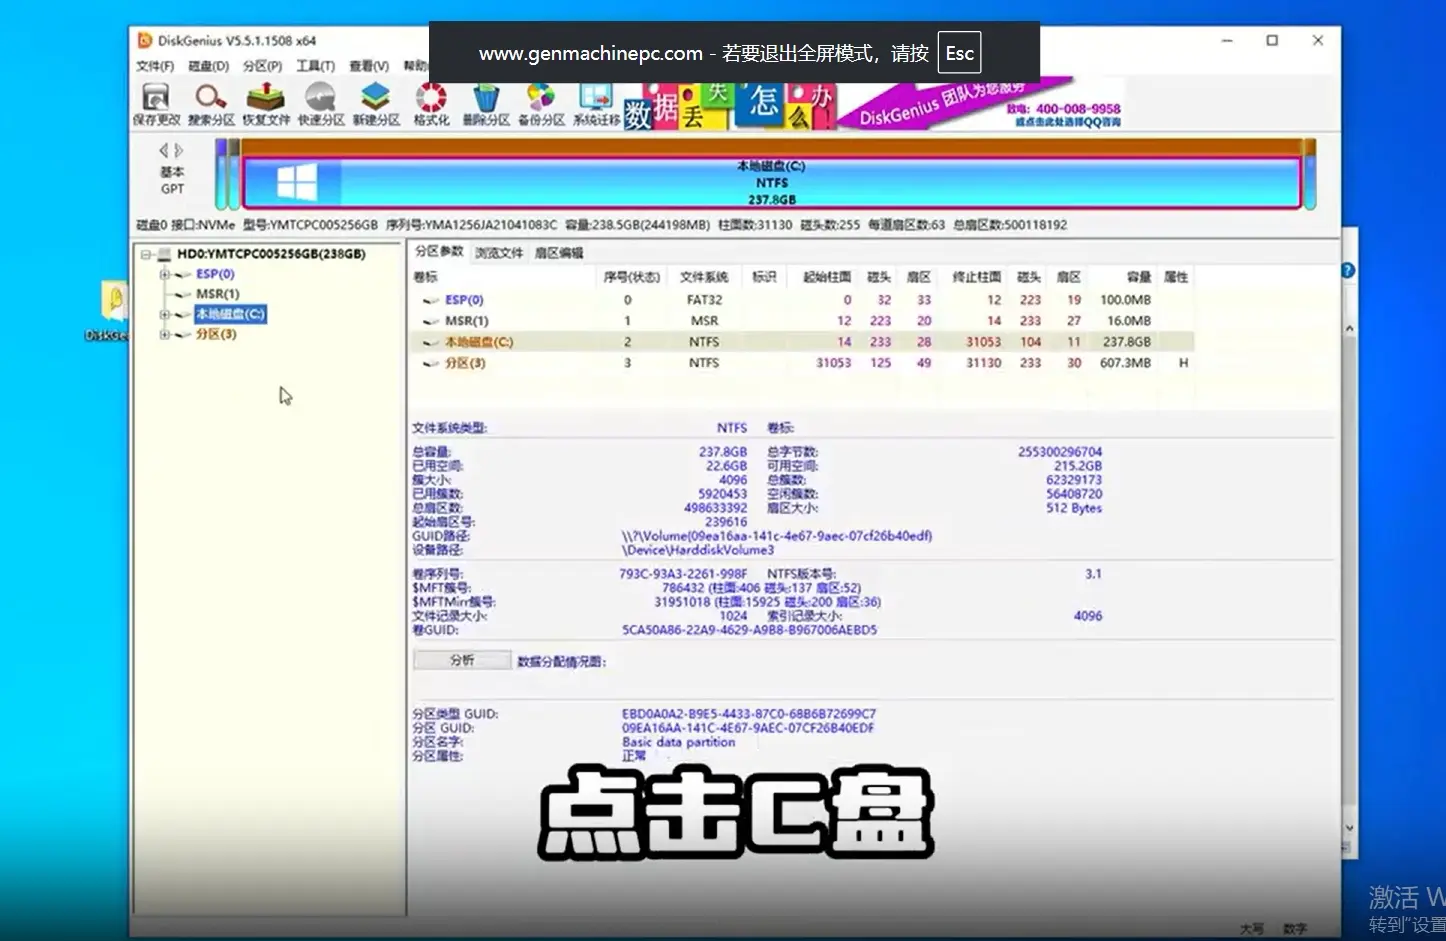
Launch DiskGenius after installation completes. The interface displays all storage devices connected to your Mini PC. Click on your C drive to select it as the target for partitioning.
Ensure you select the correct drive before proceeding. Making changes to the wrong drive could result in data loss on your Mini PC.
Step 5 – Configuring Partition Size
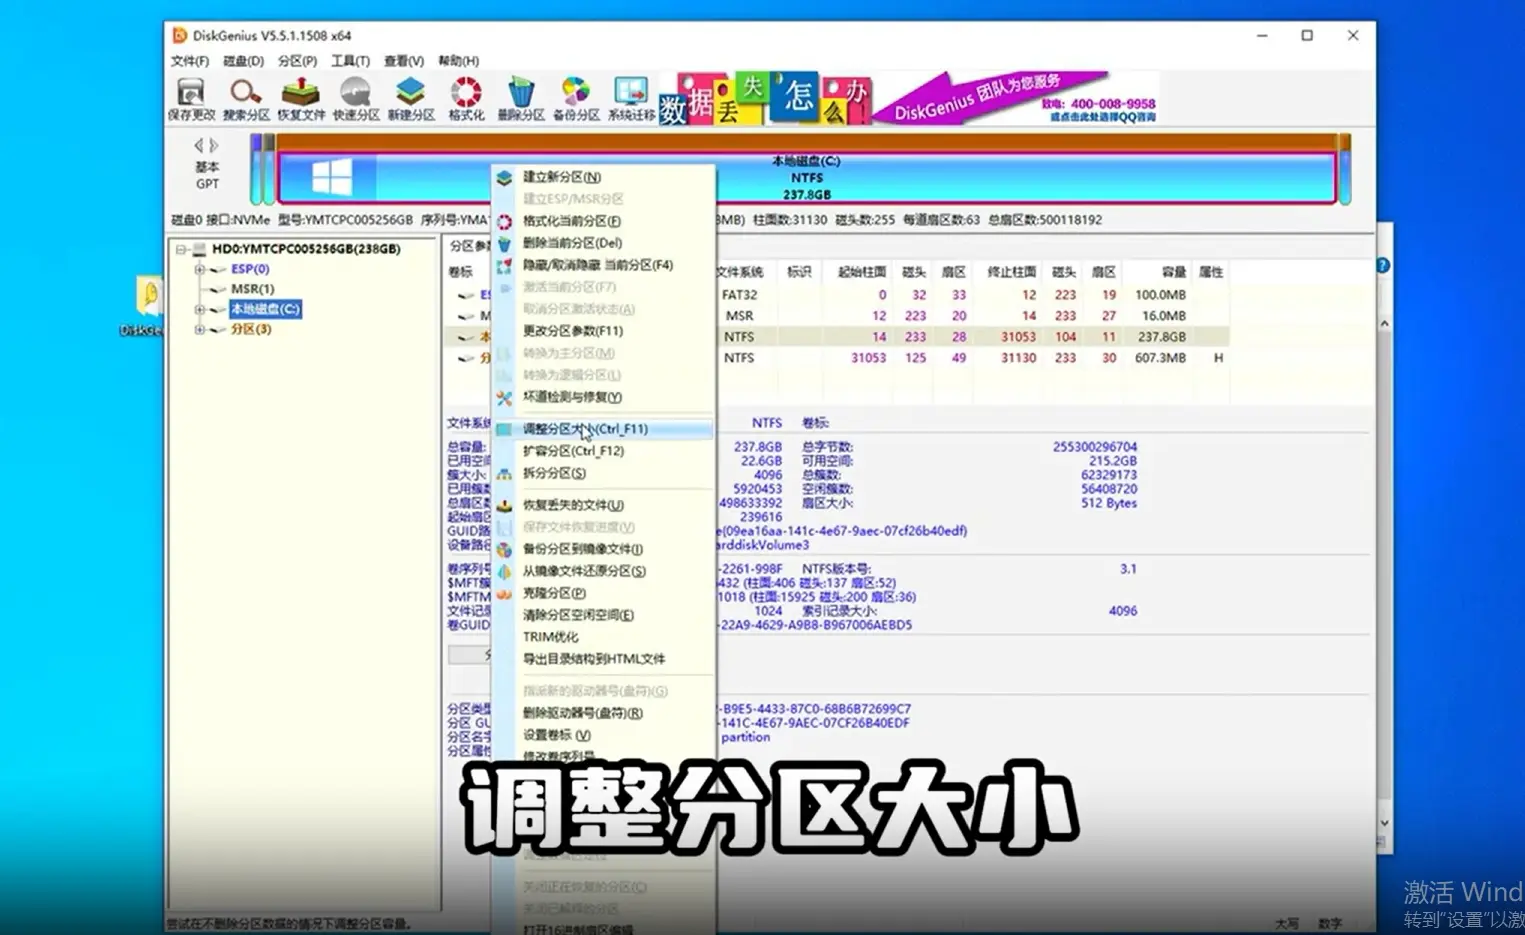
Right-click on the selected drive to access partitioning options. Navigate to “Resize Partition” and locate the option for rear partition space at the bottom.
Determine how much space you want to allocate to the new partition based on your personal needs. Consider your Mini PC storage requirements and enter the desired size in gigabytes. Press Enter to confirm your selection.
Step 6 – Creating the New Partition
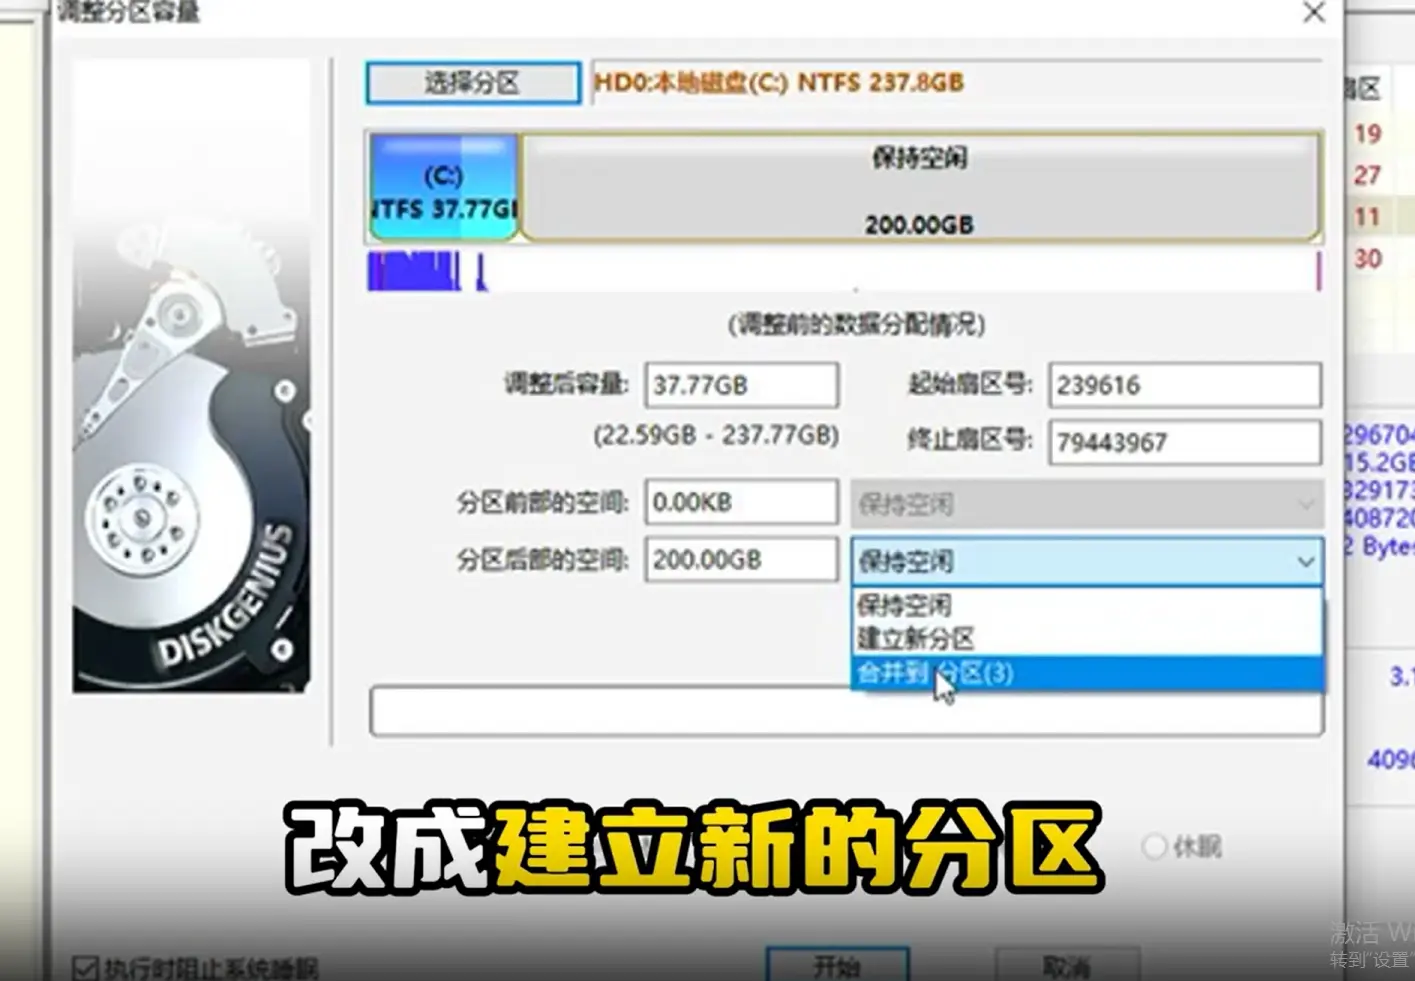
In the settings panel on the right side, change the option from “Keep Free Space” to “Create New Partition.” This tells DiskGenius to format the separated space as a usable partition.
The interface displays the adjusted capacity at the top, showing how much memory remains on your C drive after partitioning. You can fine-tune the C drive size at this stage if needed. Your Mini PC system will automatically distribute excess memory to the new partition evenly.
Step 7 – Executing the Partition Process
Review all settings carefully to ensure accuracy. When satisfied with your configuration, click the “Start” button to begin the partitioning process.
The software will prompt you with confirmation dialogs. Click “Yes” to proceed with each prompt. Allow DiskGenius to complete all operations automatically without interrupting the process. This may take several minutes depending on your Mini PC drive size and speed.
Once you confirm successful partitioning and everything appears correct, restart your Mini PC to finalize all changes. The system will recognize the new partition structure upon reboot, and your newly partitioned drive will be ready for use.