Starting with a compact mini pc feels exciting for any beginner. Here’s a quick way to get started:
Plug in the power cable.
Connect the monitor, keyboard, and mouse.
Press the power button.
The Mini PC Setup process stays simple—after pressing the button, a logo appears on the screen, and the system begins to load.
Mini PC Setup Basics
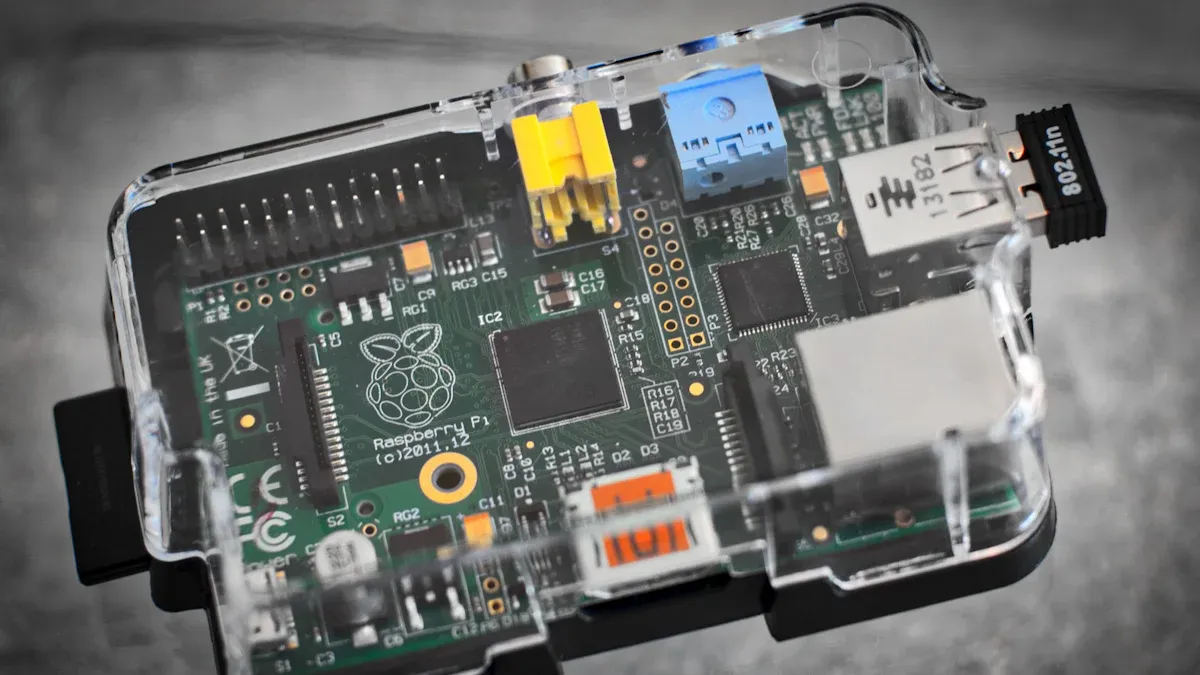
Unboxing Your Mini PC
Unboxing a new mini pc feels like opening a small treasure chest. Most packages include the main unit, a power adapter, and sometimes a mounting bracket. Some kits also come with a quick start guide or user manual.
Tip: Always read the user manual before starting the mini pc setup. The manual gives important safety tips and helps avoid mistakes.
Connecting Peripherals
Setting up a mini pc for the first time feels easy when following a clear plan. Users should gather everything needed for their desk setup:
1. Check Your Devices and Accessories
Make sure you have your monitor, keyboard, mouse, power adapter, network cable (if using wired internet), and any other external devices ready.
Verify that all cables match the correct ports (HDMI, USB, audio, etc.).
2. Position the Mini PC
Place the mini PC on your prepared surface, ensuring it has enough ventilation around it.
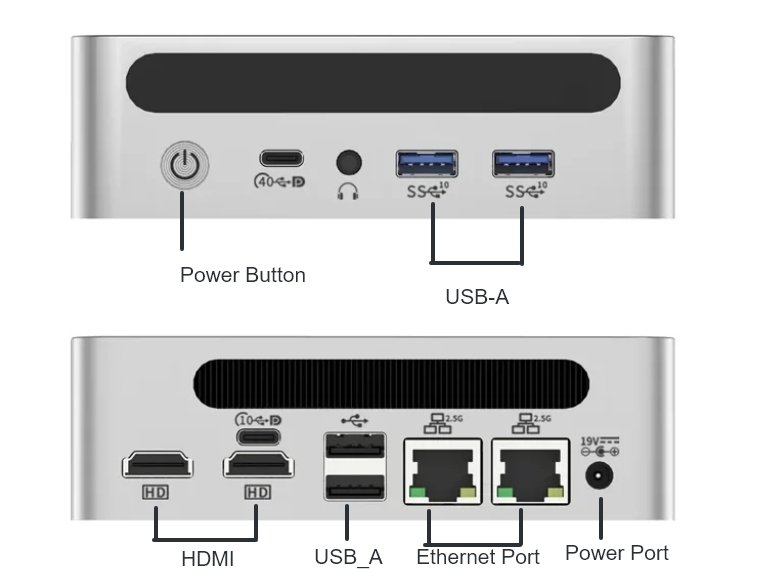
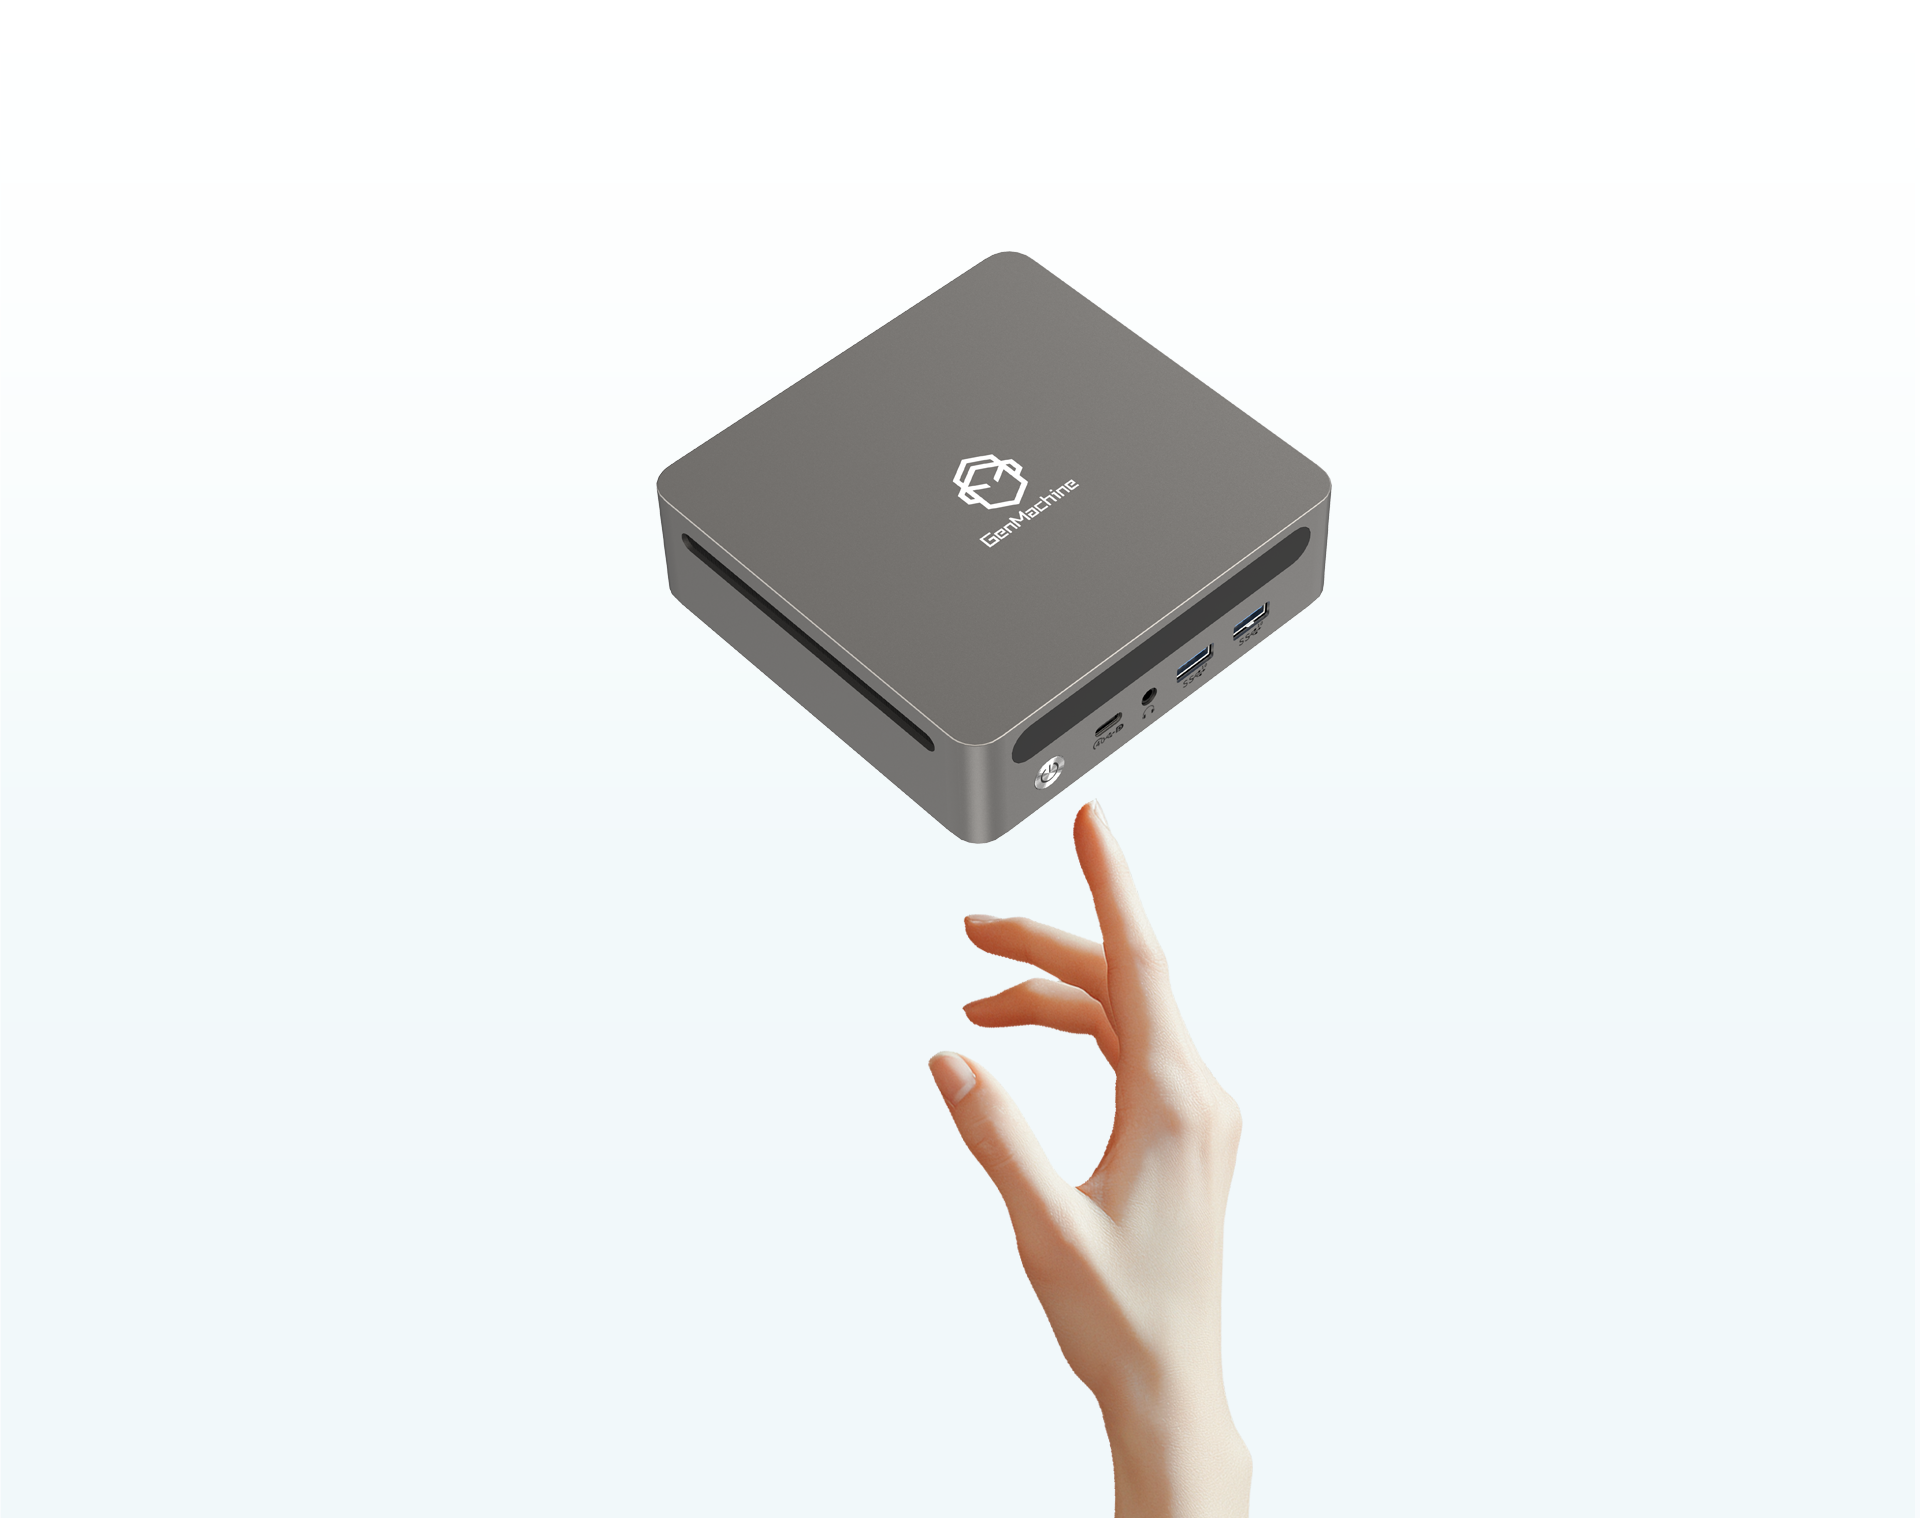
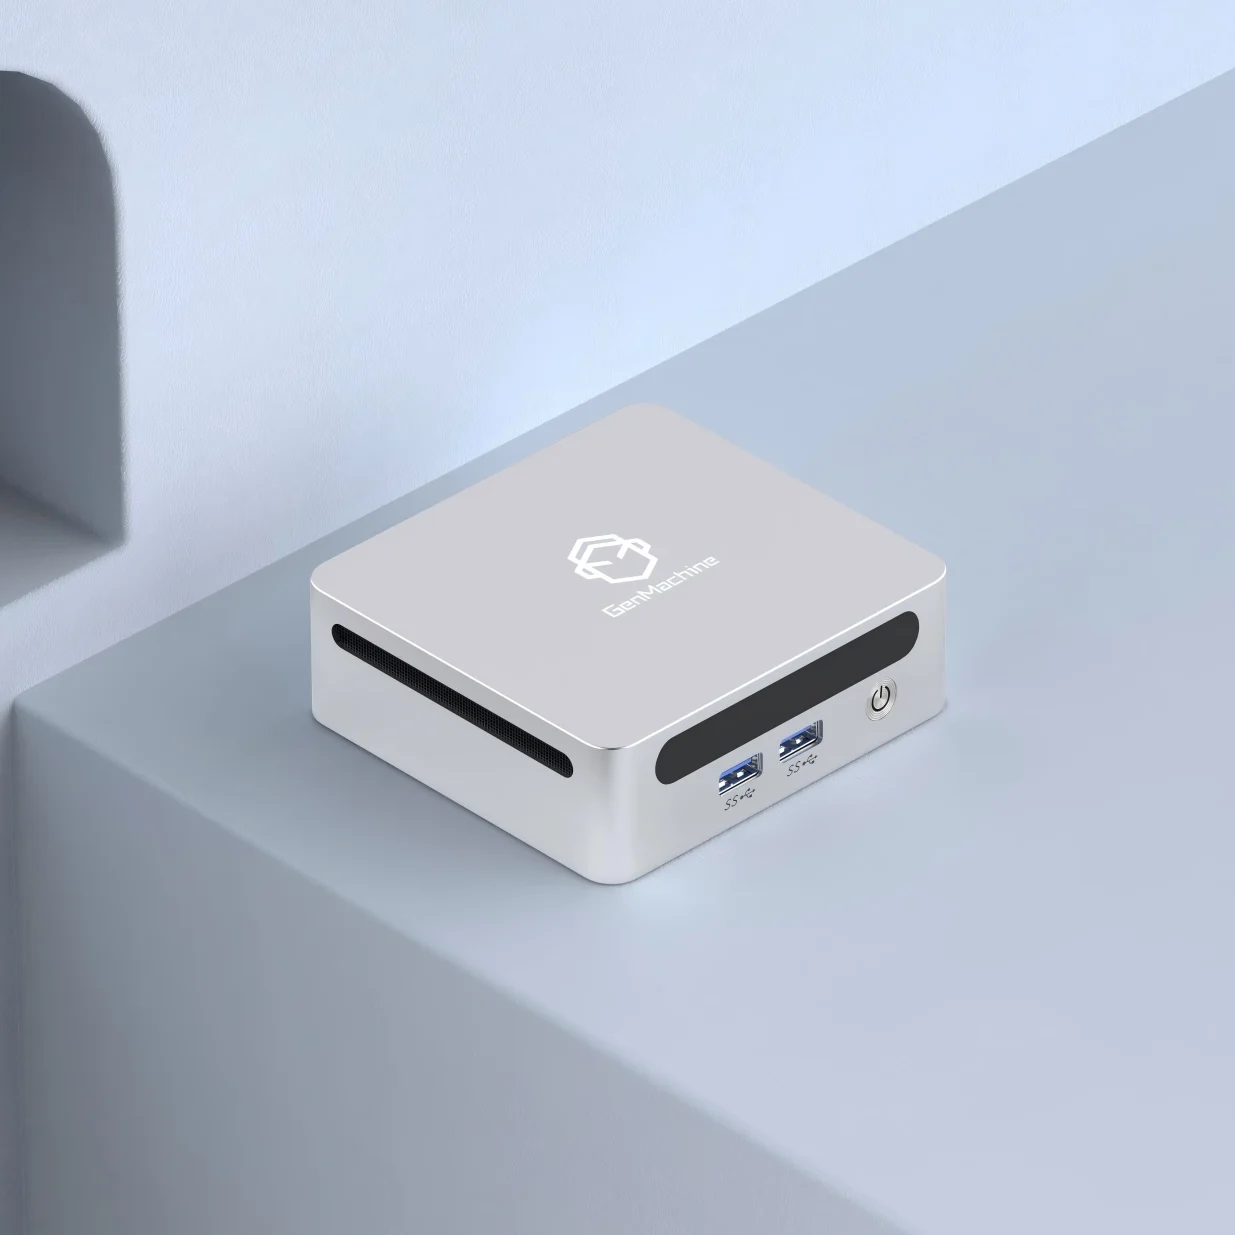
3. Connect Cables (Take the GenMachine mini PC in the following picture as an example…)
Plug in the power adapter to the mini PC power port and a power outlet. (This is important)
Connect the monitor via HDMI (in most cases) or DisplayPort.
Attach keyboard and mouse via USB or Bluetooth.
Connect to the internet if needed (Ethernet or Wi-Fi setup later).
Note: Double-check that each cable fits snugly. Loose connections can cause display or input problems.
Powering On
To start the Mini PC:
Now comes the exciting part—powering on the mini PC. Making sure plug the power adapter into the mini PC and then into a working outlet. Skipping this step is a common mistake, so checking the power source helps avoid frustration.
To start the mini PC:
Press the power button, usually found on the front or top of the device.
Watch for a logo, light, or fan activity to confirm the device has powered on.
Make sure your monitor is set to the correct input source (HDMI/DisplayPort) so the display shows the startup screen.
Wait patiently as the system loads the operating system; first-time boot may take longer than usual.
Confirm that your keyboard and mouse are working once the system is ready, so you can continue with the initial setup.
If nothing happens, users should check the power outlet and make sure all cables are secure. Many first-timers forget to check these basics, leading to unnecessary worry.
Callout: If the mini pc does not turn on, try another outlet or check the power cable. Most issues come from simple connection problems.
Once the mini pc boots up, users see the welcome screen. The mini pc setup is now complete, and the device is ready for the next steps. Whether for a full desktop setup or a compact workspace, the mini pc fits many needs.
Setting Up Your Mini PC
Initial Configuration
When you turn on the mini pc, you see a welcome screen. A setup wizard pops up and helps you start. You pick your language and set the time zone. You make a user account. Some mini pcs have Windows 11 ready to use.
Follow the steps on the screen. The wizard asks for simple details. It helps you set privacy choices. This part only takes a few minutes. Read each step before you click “Next.” Check your choices to avoid mistakes.
Tip: If you need a product key, look for a sticker or check the manual. Some mini pcs skip this if the system is already activated.
Connecting to Wi-Fi or Ethernet
Your mini pc needs internet for updates and downloads. You can use Wi-Fi or Ethernet. Plug in the Ethernet cable for a strong connection. Click the Wi-Fi icon and pick your network. Type in the password and wait for it to connect.
Most mini pcs connect fast. If it does not find the network, check the router and cables. Move the mini pc closer to the router if the signal is weak. A good connection helps with updates and streaming.
Note: Wired Ethernet is faster and drops less often. Wi-Fi is good for moving your mini pc around.
Updating Drivers and Softwares(optional but Recommended)
1.Updating Drivers and Security (Optional but Recommended)
Install and maintain antivirus software to prevent viruses and spyware..
2. Update Drivers and Firmware
Visit the mini PC manufacturer’s website to download the latest drivers and firmware.
Installing updates helps your device run smoothly and improves performance.
3. Stay Secure
Use a firewall to block unwanted network access.
Create strong passwords to protect your accounts.
Personalizing Settings (Optional)
You can make your mini pc feel special. Change the desktop background and theme. Adjust the display resolution for a clear screen. Open sound settings and test the speakers. Install basic software like browsers, office tools, and media players.
Some mini PCs are good for gaming or work. They have strong performance and easy upgrades. You get smooth gaming and fast work. You can upgrade RAM and storage for more speed. Mini PCs stay cool and quiet, even when you use them a lot. If you want to learn more about whether mini desktop PCs are good for gaming, check out this Mini PC gaming guide.