Understanding Why a Mini PC Works Perfectly as OpenClaw’s Core
The concept sounds almost too simple. Take a compact computer, load some software, connect a few cables, and suddenly there’s a fully functional claw machine controller. Yet that’s essentially what happens when transforming a mini pc into the operational heart of an OpenClaw system.
OpenClaw democratized arcade machine building. What once required proprietary hardware and specialized knowledge now runs on consumer-grade computing equipment. A mini pc handles all the processing—interpreting player inputs, controlling motor movements, managing payment systems, streaming camera feeds. Everything flows through this central hub.
The transformation process isn’t particularly complicated, though it does require attention to detail. Skipping steps or rushing through configuration creates problems that surface later during operation. Taking time upfront pays dividends in reliability.

Selecting the Right Mini PC for OpenClaw Transformation
Minimum Hardware Requirements
Not every compact computer handles OpenClaw duties adequately. The software needs certain capabilities to function smoothly. Here’s what actually matters:
| Component | Minimum Spec | Recommended Spec |
|---|---|---|
Processor | Dual-core 2.0GHz | Quad-core 2.5GHz+ |
RAM | 4GB | 8GB |
Storage | 32GB SSD | 64GB+ SSD |
USB Ports | 4 ports | 6+ ports |
Video Output | HDMI 1.4 | HDMI 2.0 |
Networking | Ethernet | Ethernet + WiFi |
Systems meeting minimum specifications run OpenClaw, but recommended specs provide headroom for additional features like multiple camera streams or complex lighting effects. The difference in cost between minimum and recommended hardware often amounts to less than fifty dollars—worth spending for smoother operation.
Form Factor Considerations
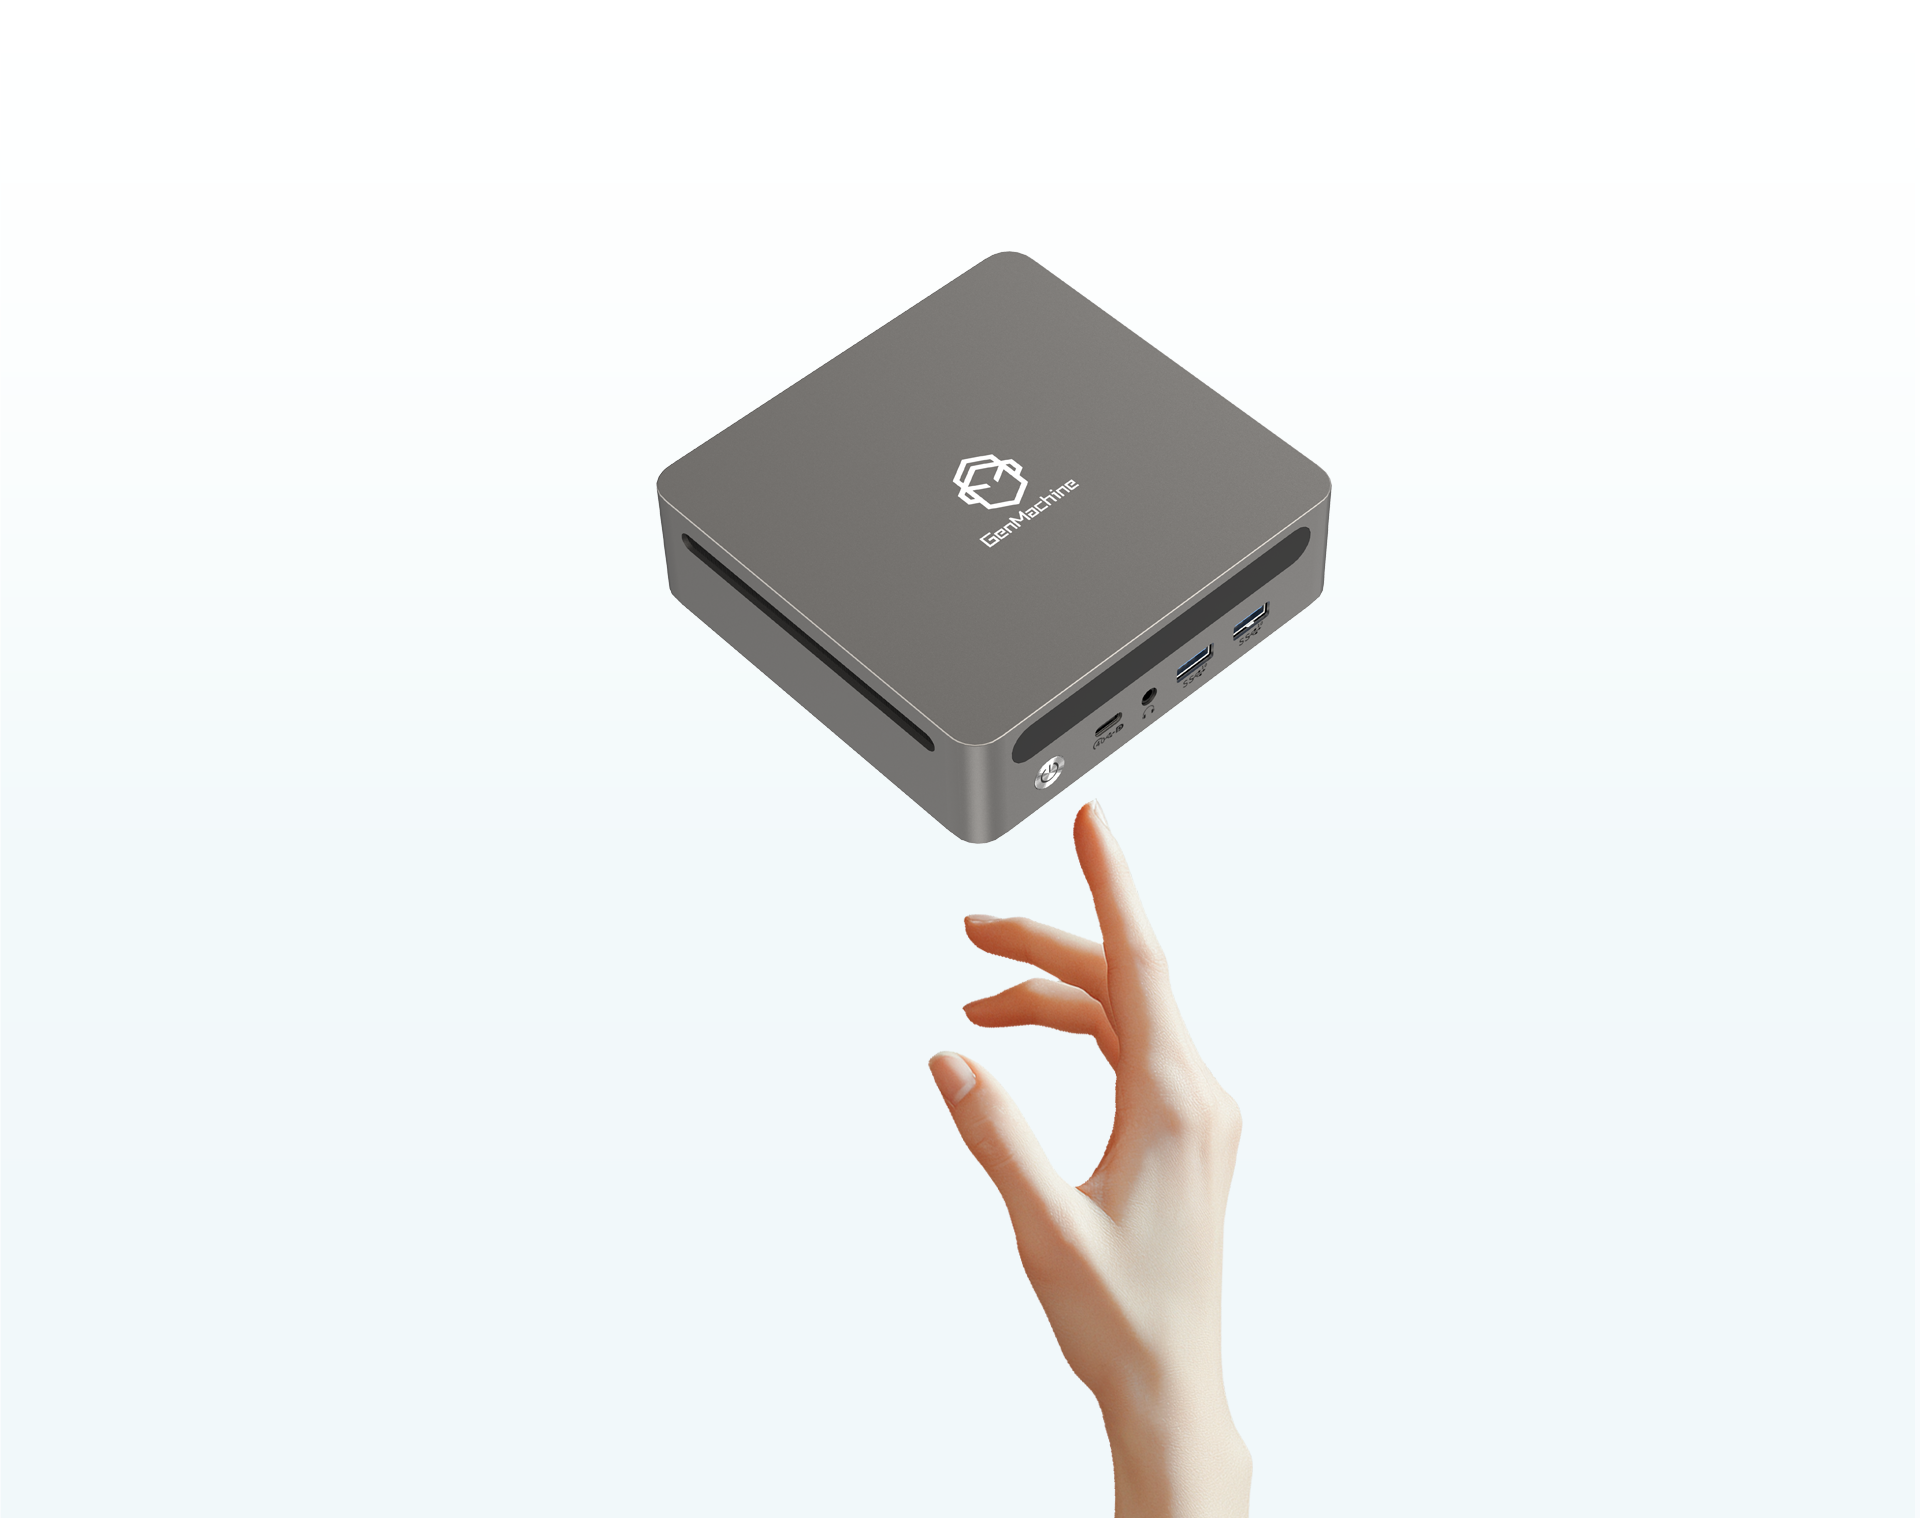
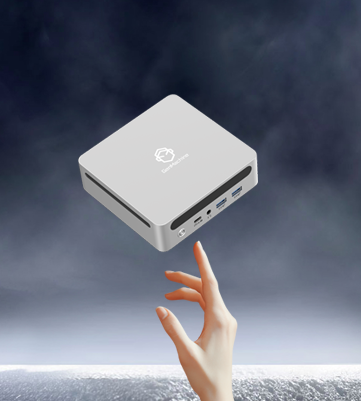
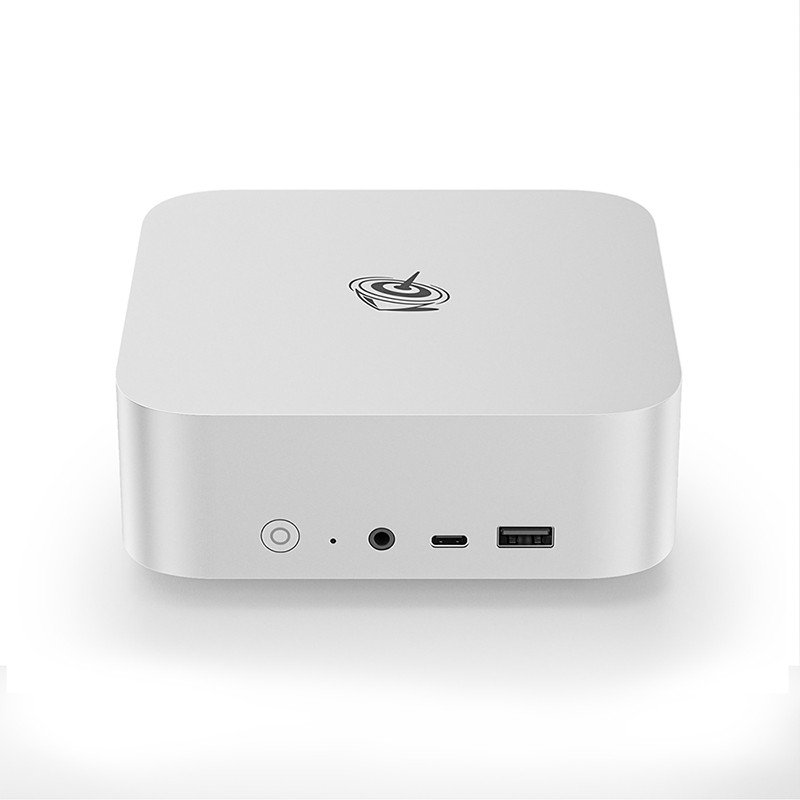
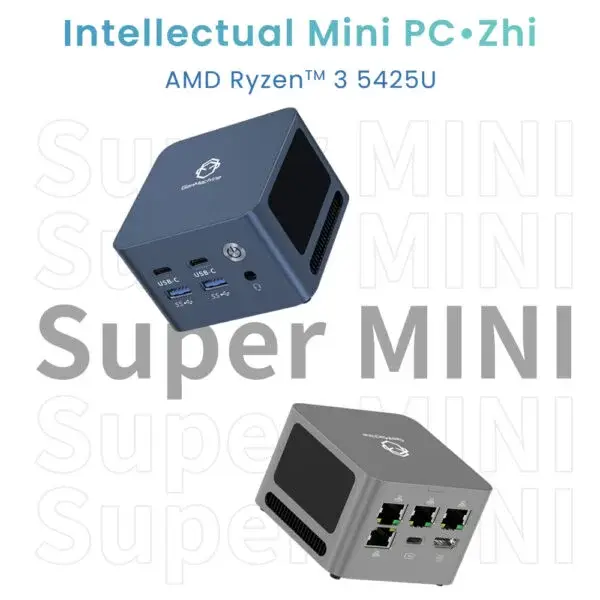
Mini pc units come in various sizes. Some measure barely larger than a smartphone. Others approach small desktop dimensions. For OpenClaw applications, slightly larger units typically work better because they offer:
More USB ports natively
Better thermal management
Easier access for maintenance
Additional expansion options
Ultra-compact models look appealing but often sacrifice connectivity and cooling capacity. Finding balance between size constraints and practical functionality matters more than achieving the smallest possible footprint.
Step-by-Step Mini PC Transformation Process
Operating System Installation
Linux distributions dominate OpenClaw deployments. Ubuntu and Debian variants see the most community support, meaning troubleshooting resources exist abundantly. The installation process follows standard patterns:
Download the chosen Linux distribution ISO file
Create bootable USB installation media
Configure mini pc BIOS for USB boot priority
Complete installation wizard prompts
Apply system updates after initial boot
Install required driver packages
Windows installations work too, though community documentation focuses primarily on Linux environments. Choosing Windows means potentially solving problems with less available guidance.
OpenClaw Software Deployment
With the operating system ready on the mini PC computer, OpenClaw installation begins. The software pulls from online repositories, requiring internet connectivity during setup. Dependencies install automatically in most cases, though occasionally manual intervention becomes necessary.
Configuration files need customization for specific hardware setups. Motor controller addresses, camera device paths, input mappings—all require specification. Default configurations rarely match actual hardware arrangements perfectly.
Connecting Hardware to Your Mini PC Brain
Motor Controller Integration
The motor controller board bridges software commands and physical movement. Connecting it properly requires:
Appropriate USB cable (often USB-A to USB-B)
Correct serial port identification in software
Matching baud rate settings between hardware and software
Proper power supply to the controller board
Testing motor response before completing full assembly catches configuration errors early. Running diagnostic commands through OpenClaw’s interface confirms communication works correctly.
Input Device Wiring
Joysticks and buttons connect through USB encoder boards or directly to GPIO pins depending on the mini pc model and chosen approach. USB encoders simplify wiring considerably—each button connects to labeled terminals, and the encoder presents inputs as standard gamepad signals.
GPIO approaches offer more direct control but require additional configuration and compatible hardware. Most newcomers find USB encoders less frustrating despite slightly higher component costs.
Display and Camera Connections
HDMI output handles display duties straightforwardly. Camera connections vary more widely—USB cameras work universally while some operators prefer IP cameras for flexibility. Multiple camera setups enable features like prize verification and remote play streaming.
Audio output for sound effects typically routes through HDMI to display speakers or through separate audio jack connections to dedicated speakers. Sound adds atmosphere that players appreciate, even if it’s technically optional.
Optimizing Your Mini PC for Continuous OpenClaw Operation
System Hardening for Reliability
Arcade equipment runs continuously for extended periods. Consumer operating systems assume occasional restarts and user interaction. Adjustments improve stability:
Disable automatic updates and restarts
Configure automatic login without password prompts
Set OpenClaw to launch at system startup
Enable automatic recovery after power interruptions
Disable unnecessary background services
These changes transform a general-purpose mini pc into a dedicated appliance focused entirely on OpenClaw duties. The system becomes more predictable and requires less ongoing attention.
Monitoring and Maintenance Access
Remote access capabilities prove invaluable for troubleshooting without physical presence. SSH for command-line access and VNC for graphical remote control both serve useful purposes. Setting these up during initial configuration—rather than after problems arise—makes life considerably easier.
Monitoring tools that track temperature, CPU usage, and storage capacity alert operators to developing issues before failures occur. Proactive awareness beats reactive troubleshooting every time.
FAQ
How long does the complete mini pc transformation process typically take?
Experienced operators complete setup within two to four hours. First-time installations often stretch to a full day when including research time, troubleshooting unexpected issues, and testing all functionality thoroughly.
Can the same mini pc run other software alongside OpenClaw?
Technically yes, though dedicating the system entirely to OpenClaw improves reliability. Running additional software consumes resources and introduces potential conflicts. Separate hardware for other purposes costs little compared to troubleshooting interference problems.
What happens if the mini pc needs replacement after transformation?
Keeping documented configuration files and settings enables relatively quick recreation on replacement hardware. The transformation process repeats faster the second time because decisions are already made and documented. Some operators maintain spare pre-configured units for rapid swaps.