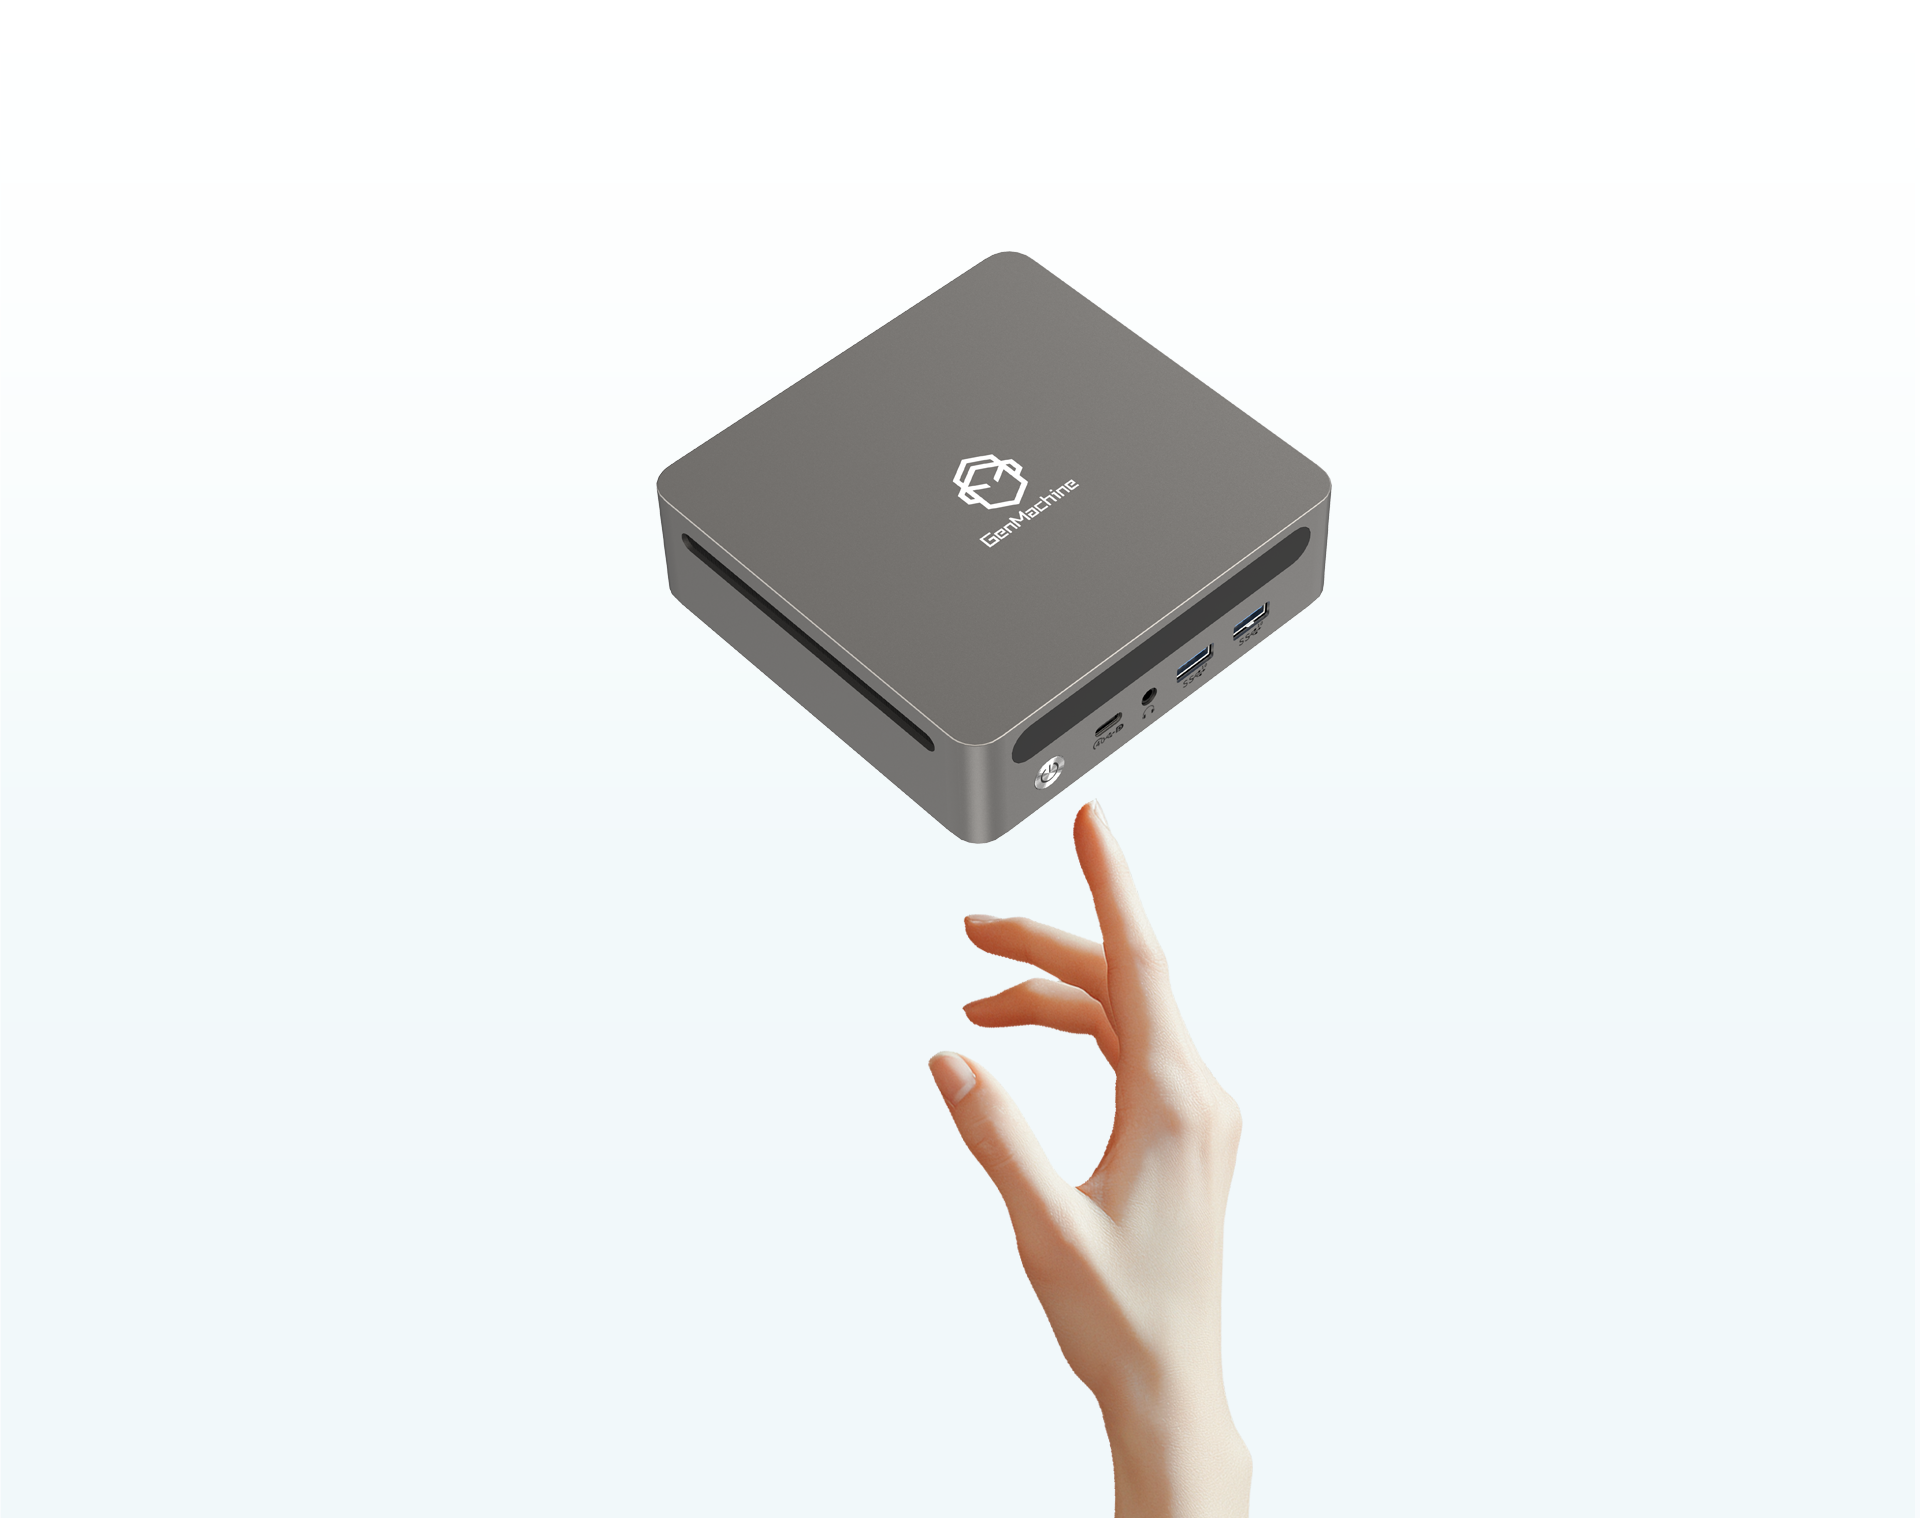
With the rapid development of science and technology, customizing a custom Mini PC can not only meet the individual needs, but also enjoy the fun of DIY. Whether it is a gamer who pursues high performance or a professional who pays attention to office efficiency, building a custom Mini PC can bring you a unique experience. Next, let’s unveil the mystery of customization step by step.
I. Clear demand and budget
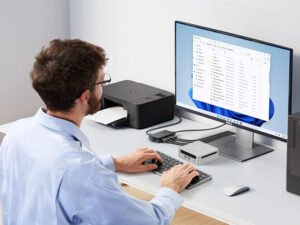
(1) Determine the purpose
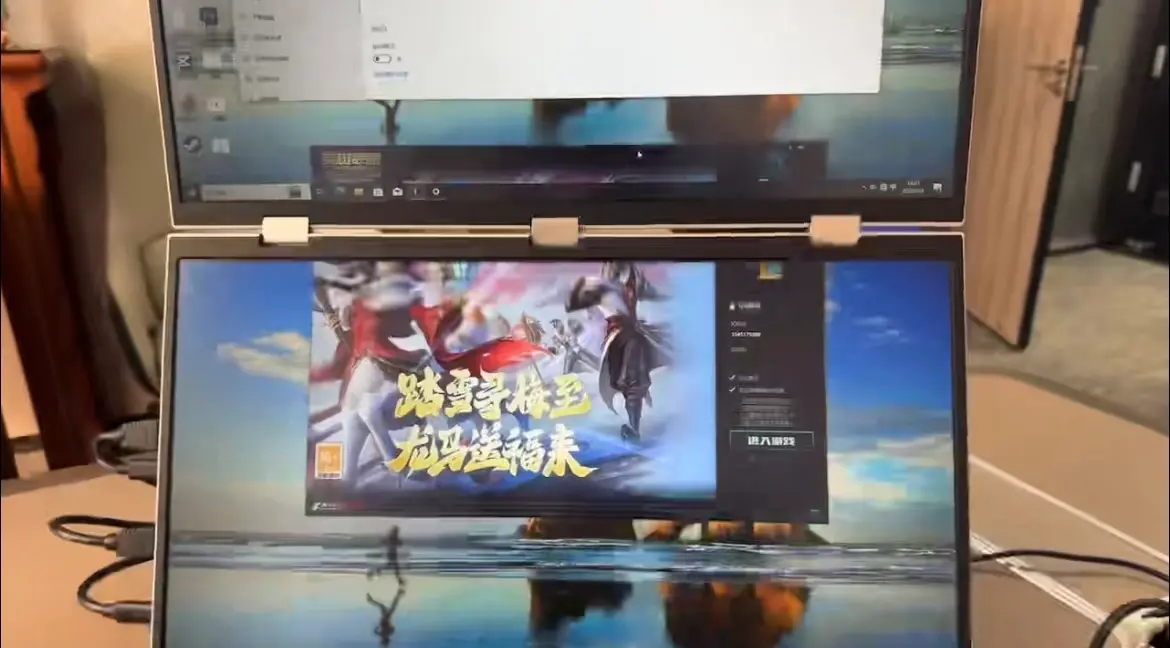
Before starting to build a custom Mini PC, we must first clarify its purpose. Is it used for daily office, running simple office software and browsing the web? Or as a multimedia center, playing high-definition videos and music? Or is it used for professional graphic design, programming development, or even playing large games? Different uses have different requirements for computer performance. For example, if you are a game console, you need powerful graphics performance and high processor operation speed; While the daily office pays more attention to stability and low power consumption.
(2) Make a budget
Make a reasonable budget according to the determined use. The budget should not only cover the purchase cost of hardware equipment, but also consider the expenditure of cooling equipment and operating system. Generally speaking, the entry-level custom Mini PC is used for simple office work, and the budget may be several hundred yuan to more than one thousand yuan; The budget for games that pursue extreme performance or custom Mini PC for professional design purposes may be as high as several thousand yuan. Reasonable budget planning can help you make a suitable choice among many hardware.
II. Choose the right hardware
(1) Mainboard selection
The mainboard is like the skeleton of custom Mini PC, which determines the compatibility of other hardware. For the custom Mini PC, it is more suitable to choose Mini-ITX or smaller mainboard. Among many brands, we can pay attention to some products that focus on miniaturization design and have a good reputation. At the same time, pay attention to the processor type, memory specification and expansion interface supported by the mainboard. For example, if you plan to use Intel Core series processors, make sure that the CPU slot of the mainboard matches it.
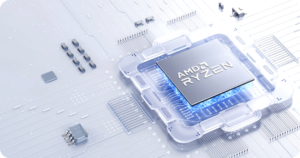
(2) Processor choice
Processor is the core of computer, and its performance directly affects the overall running speed. Select the processor according to the purpose and budget. If it is a daily office, some entry-level processors of Intel Pentium, Celeron series or AMD can meet the demand; For games or professional design, Intel Core i5, i7 series or AMD’s Ruilong series high-performance processors are more suitable. Like the Intel Core i7 processor, it has multi-core and multi-thread processing ability, and can easily cope with complex computing tasks.
(3) Memory and storage
The memory size determines how many programs a computer can run at the same time and how smoothly it runs. Generally, 8GB of memory is basically enough for daily office. If it is used for games or professional software, 16GB or even 32GB is recommended. In terms of storage, the solid state hard disk (SSD) can significantly improve the reading and writing speed of the computer, and you can choose an SSD with a capacity of 256GB or more. In addition, it can also be matched with a mechanical hard disk (HDD) as required to obtain a larger storage capacity.
(4) Consideration of radiator
Due to the compact space of custom Mini PC, heat dissipation is the key. Choose a small radiator with high heat dissipation efficiency. For low-power processors, passive heat sinks may be able to meet the demand; High-performance processors need active radiators, such as small air-cooled radiators or mini water-cooled radiators.
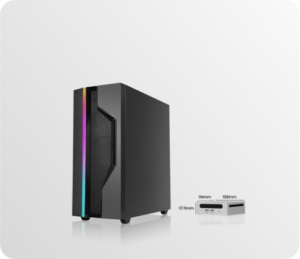
(5) Chassis selection
Chassis is not only the carrier of hardware, but also affects the appearance and heat dissipation of computer. Pay attention to the compatibility of chassis size with mainboard, radiator and other hardware when selecting. At the same time, some cases have unique designs, such as side transparent panels, which can display internal hardware and increase aesthetics.
(6) Power supply adaptation
According to the hardware power consumption, select the power supply with appropriate power. Generally speaking, it is necessary to ensure that the power supply can meet the requirements of all hardware running at the same time, and leave a certain margin to ensure the stable operation of the system.
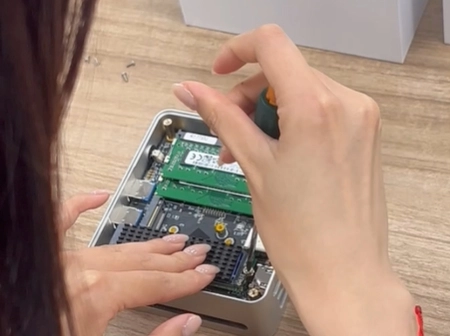
III. Hardware Assembly and Debugging
(1) Install the mainboard
Carefully put the motherboard into the chassis, align it with the screw holes and fix it with screws. Be careful not to over tighten the screws to avoid damaging the mainboard.
(2) Install the processor and radiator
Install the processor into the CPU slot correctly according to the mainboard instructions, apply proper amount of heat dissipation silicone grease, and then install and fix the radiator.
(3) Install memory and storage devices
Insert the memory stick into the memory slot corresponding to the mainboard, install the solid-state hard disk or mechanical hard disk into the hard disk of the chassis, and connect the data cable and power cable.
(4) Connect the power supply with other equipment
Connect each interface of the power supply with the motherboard, hard disk, radiator and other hardware correctly. At the same time, connect the front audio, USB and other interfaces of the chassis.
(5) Power-on debugging
After ensuring that all the hardware is installed correctly, connect the display, keyboard, mouse and other peripherals and turn on the power. If the computer can be turned on normally and enter the BIOS setting interface, the hardware installation is basically successful. At this time, BIOS settings can be made according to requirements, such as adjusting startup sequence and setting hardware parameters.
IV. System Installation and Optimization
(1) Install the operating system
Prepare operating system installation media, such as U-disk startup disk. Start the computer from the USB drive and install the operating system according to the installation wizard. During installation, select the appropriate partition and setting options.
(2) Install the driver
After the operating system is installed, install the hardware driver, and download the driver of the corresponding model through the official website of the mainboard and hardware manufacturer to ensure that the hardware can work normally.
(3) System optimization
Install anti-virus software and necessary system optimization software to update and optimize the system. Close unnecessary startup and self-start programs and clean files to improve the running speed of the system.
Summary
Customizing a custom Mini PC of your own, although the process is full of challenges, when it finally runs perfectly in your hands, the sense of accomplishment is unspeakable. By defining the requirements, carefully selecting the hardware, carefully assembling and debugging, and optimizing the system, you can build a custom Mini PC that meets your own needs. Whether it is the inspiration brought by Ren series custom Mini PC, Yi series custom Mini PC or Li series custom Mini PC related products, it can be integrated into your customization process and start a unique technological journey.