People love the idea of a tiny, hyper-powerful computer sitting quietly on the desk. It looks clean. It saves space. But actually putting one together is a completely different story. The standard rules of mini PC assembly just kind of fly out the window when dealing with small form factor cases. You can’t just buy the fastest parts on the market, throw them in a metal box, and expect it to work out. Stuffing high-end hardware into a tiny enclosure takes a lot of forethought, and the margins for error are incredibly slim.
The Reality of a Gaming Mini PC Build
Tackling a gaming mini pc build is often an exercise in patience. Unlike a massive mid-tower where extra cables can just be shoved behind a dark back panel and forgotten forever, every single millimeter counts here. It’s basically a puzzle. And if one piece is slightly too thick or too long, the whole project comes to a grinding halt.
Space is the Ultimate Enemy
It sounds obvious, but case dimensions dictate literally everything else. Buying a massive, triple-fan graphics card before measuring the internal clearance of the chosen chassis is a mistake that happens a lot. Tolerances are tight. Sometimes, even the added thickness of a plastic fan grill is enough to prevent a side panel from closing properly. There is a very specific feeling of dread when the case won’t shut because a single rogue cable is sticking out a quarter of an inch too far.
Critical Components for a Gaming Mini PC Build
When planning out a gaming mini pc build, some parts matter a lot more than others. A standard desktop lets you get away with cheaping out on certain things because there is plenty of room to hide ugly hardware. Small form factor systems punish you for that kind of thinking.
Motherboards and the ITX Tax
Mini-ITX motherboards are the foundation of any tiny rig. They are tiny squares (about 6.7 by 6.7 inches) that somehow pack all the necessary slots for modern gaming. But because cramming all those capacitors, headers, and VRMs into such a small physical space is difficult for manufacturers, these boards usually cost noticeably more than their full-sized equivalents. This price bump is widely known in hardware circles as the ITX tax.
Power Supplies That Actually Fit
An ATX power supply simply will not fit in most compact cases. The gold standard for a gaming mini pc build is the SFX power supply. Sometimes an SFX-L (which is slightly longer) works depending on the case layout, but it usually eats into the precious little cable routing space that exists.
Cooling Solutions and Airflow Physics
Heat is without a doubt the biggest problem in a gaming mini PC build. Standard air coolers are usually way too tall. This leaves builders with two realistic options for keeping temperatures down:
Low-profile air coolers that sit almost flush against the motherboard to clear the side panel.
All-in-one (AIO) liquid coolers with 120mm or 240mm radiators, assuming the specific case has the necessary mounting brackets.
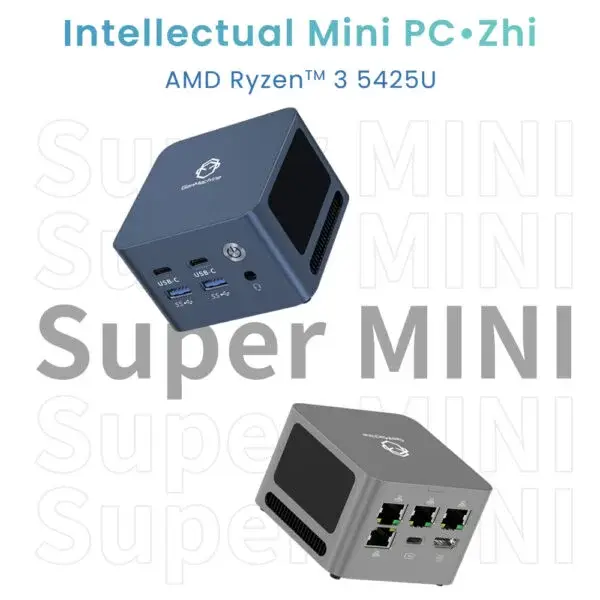
For the intellectual mini PC enthusiast—someone who understands the engineering trade-offs rather than just chasing specs—the cooling solution often becomes the central decision point around which the entire build revolves, influencing case choice, component selection, and even noise expectations.
Hardware Matchups in a Gaming Mini PC Build
Pairing the right processor with the right graphics card is crucial. Putting a 300-watt CPU inside a shoebox-sized case usually just results in thermal throttling, meaning the processor actively slows itself down to avoid melting the surrounding plastic.
Here is a realistic look at how components usually stack up based on the actual volume of the case:
| Case Volume | Motherboard | Cooler Type | GPU Clearance | Target Resolution |
|---|---|---|---|---|
| Under 5 Liters | Mini-ITX | Low-profile air | Low-profile or APU | 1080p |
| 7 to 10 Liters | Mini-ITX | 120mm AIO / Air | Dual-slot standard | 1440p |
| 12 to 18 Liters | Mini-ITX or DTX | 240mm AIO | Triple-slot massive | 4K |
Steps to Survive a Gaming Mini PC Build
A bit of a warning for anyone starting out: hands will probably get cramped. Working inside a metal box that is barely larger than a toaster involves a lot of weird angles and scraped knuckles.
To make the whole gaming mini pc build process less miserable, following a specific order of operations helps tremendously:
Install the CPU, RAM, and NVMe storage onto the motherboard before putting it into the case.
Mount the power supply, but leave the cables unplugged if possible to save space.
Route the power cables and tiny front panel connectors to their general locations.
Install the motherboard and plug everything in before the graphics card blocks access to the pins.
Slide the graphics card in last, making sure the PCIe riser cable (if the case uses one) is seated securely.
Cable management isn’t just about aesthetics in a gaming mini pc build. Shoving a bunch of thick, stiff nylon cables right in front of an intake fan will absolutely ruin internal temperatures.
FAQ
Is liquid cooling mandatory for a gaming mini pc build?
Not necessarily mandatory, but highly recommended for cases over 10 liters that support it. In extremely small cases under 7 liters, liquid cooling often isn’t even an option due to the physical space constraints of the pump, so high-quality low-profile air coolers are used instead.
Do small computers perform worse than big desktop towers?
Assuming the internal parts are exactly the same, they perform identically right up until they hit their thermal limit. Because compact systems hold less air and get hotter faster, they might start to throttle speeds sooner during extended, heavy gaming sessions compared to a massive tower with huge fans.
Are custom cables really necessary?
They are not strictly required to make the computer turn on, but the stiff stock cables included with most power supplies are incredibly difficult to bend around tight corners. Custom, flexible cables make routing a lot smoother and can improve internal airflow dramatically by taking up less physical volume.