Historically, setting up a server at home meant acquiring some massive, noisy piece of enterprise hardware that sounded somewhat like a vacuum cleaner. It usually sat in a dark closet, generated an uncomfortable amount of heat, and quietly cranked up the monthly electricity bill. But lately, the landscape of home labs has sort of shifted. Repurposing a mini pc for home server setups has rapidly become the go-to move for hobbyists and everyday tech enthusiasts alike. It just makes significantly more sense to use a tiny, energy-efficient box that takes up basically zero physical space.
The Appeal of a Mini PC for Home Server Projects
Why are people actively abandoning traditional, bulky towers for network tasks? Mostly, it all comes down to raw efficiency. A standard desktop computer idling in the corner of a room pulls a fairly significant amount of wattage around the clock. When running a mini pc for home server tasks instead, that baseline power draw drops dramatically, sometimes hovering down around just 10 or 15 watts at idle. Over the course of a year or two, that energy difference essentially pays for the hardware itself (or at least close to it). Plus, they are practically silent, which keeps the living room peaceful.
The Storage Compromise
The most obvious downside to this whole approach is storage capacity. You simply can’t slide five heavy mechanical hard drives into a plastic chassis the size of a thick paperback book. However, network-attached storage units or multi-bay external USB enclosures usually solve this limitation pretty easily. It is a minor, highly manageable tradeoff for keeping the main computing hub hidden out of sight.
Hardware Requirements for a Mini PC for Home Server Use
Before diving into the software side of things, the physical hardware actually needs to match the intended workload. A basic background media server requires entirely different specifications than a sprawling virtualization lab running twenty different isolated containers.
| Intended Server Role | Minimum Processor | Suggested RAM | Ideal Storage Setup |
|---|---|---|---|
| Network Ad Blocker / VPN | Basic Celeron or N100 | 4GB to 8GB | Small SSD (128GB) |
| Media Streaming (Plex/Jellyfin) | Core i3 or i5 (with QuickSync) | 16GB | NVMe for OS + External HDD |
| Virtualization Node (Proxmox) | Core i7 or Ryzen 7 | 32GB to 64GB | Fast NVMe SSD (1TB+) |
Step-by-Step: Configuring a Mini PC for Home Server Operations
Getting everything up and running isn’t incredibly difficult, but it does require following a somewhat logical sequence. Skipping steps usually leads to weird, frustrating network routing issues later on down the line.
Plug in a basic keyboard, mouse, and external monitor for the initial installation phase (these can just be unplugged forever once remote access is fully working).
Enter the system BIOS by mashing the delete or F2 key during the initial boot-up screen. Find the power settings and make sure the system is configured to automatically turn back on after a power failure.
Install the chosen operating system via a prepared bootable USB thumb drive.
Access the local router settings via a web browser and assign a static IP address to the machine, ensuring the server doesn’t randomly change its network location whenever the router restarts.
Choosing the Right Software Backbone
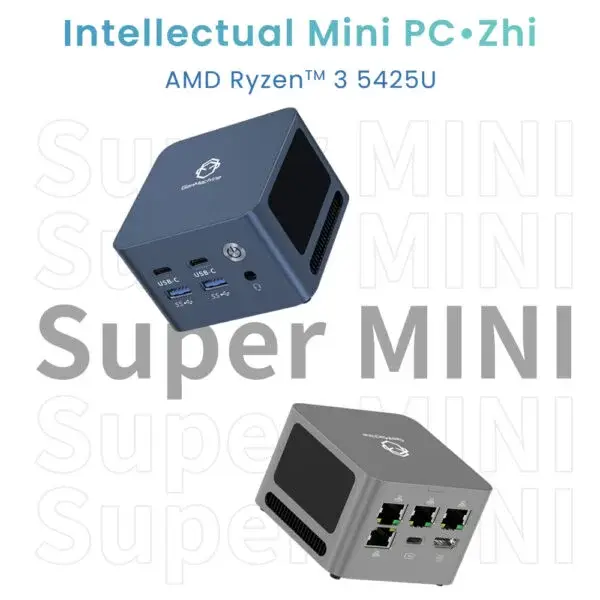
Windows works fine for basic file sharing, sure, but it eats up a massive amount of system resources just to display the desktop environment. Most people eventually end up migrating to a bare-metal hypervisor or a dedicated, command-line operating system like Ubuntu Server. It feels a bit intimidating at first, but having a lightweight, purpose-built operating system makes a mini PC for home server duties run significantly smoother over the long haul. Take an AMD Ryzen 5300U-based Mini PC, for instance — its four Zen 3 cores and efficient 15W TDP are perfectly capable hardware, but pairing that chip with Windows would leave performance on the table. Strip away the GUI overhead, and that same 5300U can comfortably handle multiple containers, a media server, and a VPN tunnel all at once without breaking a sweat.
Avoiding Pitfalls When Building a Mini PC for Home Server
Sometimes things go wrong. Actually, things almost always go wrong on the very first try. It is just part of the natural learning curve when tinkering with networks and permissions.
To avoid the most common headaches, watch out for these missteps:
Relying heavily on Wi-Fi instead of a hardwired Ethernet cable. (Wireless connections just drop or fluctuate too often for a truly reliable server experience).
Forgetting to configure automated, off-site backups for critical personal data.
Overestimating how much processing power is actually needed for simple background docker containers.
Keep expectations relatively realistic. Expecting a tiny low-power chip to seamlessly transcode five high-bitrate 4K video streams simultaneously is just asking for a frozen machine. But for everyday file hosting, smart home automation, and personal web hosting, configuring a mini pc for home server operations is arguably the absolute best route to take.
FAQ
Is using an older, refurbished office mini pc for home server tasks a good idea?
Yes, absolutely. Used corporate machines from a few years ago are incredibly cheap, built to survive long hours, and usually have more than enough processing power to handle daily home network tasks like ad-blocking or running a personal cloud drive.
Do these compact systems overheat when left on continuously?
As long as the intake vents aren’t shoved directly against a dusty wall or buried under papers, they handle 24/7 operation surprisingly well. They are engineered with laptop-grade thermal components that naturally throttle if things get too warm, though keeping them in a cool, well-ventilated spot is always recommended.
Can a mini pc for home server use entirely replace a dedicated NAS?
It heavily depends on the sheer volume of files involved. If the goal is just securely backing up a few family photos and some text documents, a compact PC with a large internal SSD is perfect. But for hoarding massive amounts of raw video files or massive datasets, a dedicated multi-bay NAS enclosure is still the better tool for the job.