There’s a certain satisfaction in picking exactly what goes inside a tiny computer. Not everyone needs a gaming laptop or a massive tower. Sometimes, a custom mini pc build makes more sense – especially when the off-the-shelf options always seem to have one wrong compromise. Too little RAM. Not enough USB ports. A fan that’s annoyingly loud. Or the other way around: too much GPU power that just sits idle. So how does someone actually configure internal components for, say, a digital signage controller versus a home security hub? Let’s walk through it. Not perfectly, but practically.
Why Bother With a Mini PC Build Instead of Buying Prebuilt?
Prebuilt mini PCs are convenient. Open the box, plug it in, done. But convenience often means soldered RAM, a weird Wi-Fi card, or storage that’s glued down. A custom mini pc build lets the user choose every part – within reason, of course. Some chassis are tiny (like 1 liter or less) and only accept certain motherboards. Others, like the ASRock DeskMini or Minisforum B550, offer surprising flexibility.
From an observational standpoint, people who build their own mini PCs usually fall into three categories:
Home lab enthusiasts (Proxmox, Docker, multiple VMs)
Retro gaming fans (needing specific older GPU support via M.2 adapters)
Edge computing tinkerers (industrial sensors, camera feeds)
And then there’s the quiet crowd – just someone who wants a perfectly silent office PC without coil whine. That’s valid too.
The Common Mistake: Over-allocating Budget
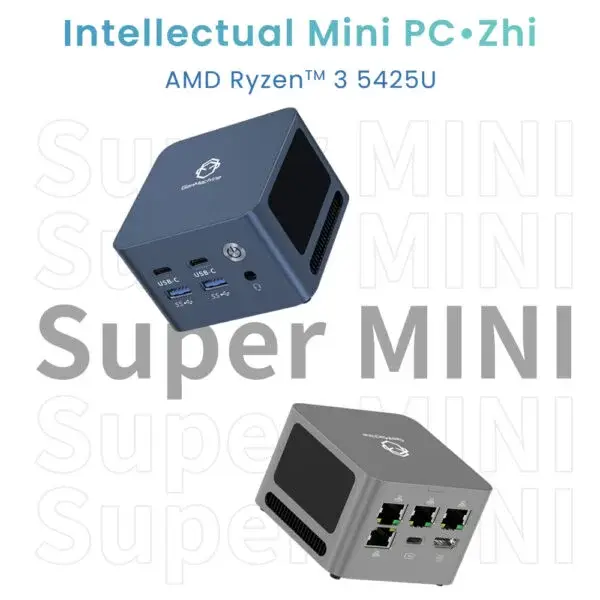
Seen it happen. Someone plans a custom mini pc build and spends too much on a high-end CPU, then skimps on the power supply or cooling. The result? Thermal throttling within ten minutes. The better approach: match the component tiers. A well-configured 7730U AMD Mini PC with 16GB of dual-channel RAM and a decent NVMe drive will feel faster in daily use than a Ryzen 9 that’s constantly hitting 95°C, just like a balanced mid-range Ryzen 5 5625U build with optimized cooling and memory.
Key Components and How to Match Them to Your Needs
Here’s where the real choices happen. Every custom mini pc build starts with the motherboard form factor. The most common for mini builds are:
Mini-ITX (170mm x 170mm) – relatively large for “mini” but still small
STX (147mm x 140mm) – used in DeskMini series, very compact
NUC-style proprietary boards – smallest but least upgradeable
What OS will run? (Windows 11 needs TPM 2.0 support)
How many drives? (one M.2 might be enough, or need two for RAID)
Any legacy ports? (VGA, serial COM, old printers – some boards still have headers)
Passive or active cooling? (fanless cases exist but limit CPU to ~15W TDP)
Once those answers are clear, the rest falls into place. Or at least, it becomes less confusing.
A Practical Component Table for Common Use Cases
Let’s line up three typical scenarios for a custom mini pc build. These are based on actual builds seen in forums and local meetups – not theoretical.
| Use Case | CPU TDP (Suggested) | RAM | Storage | Special Notes |
|---|---|---|---|---|
| Home media server (4K transcoding) | 25–35W (Intel with Quick Sync) | 8–16GB | One large HDD (2.5″) plus M.2 cache | Intel better for hardware transcoding |
| Software development / Docker lab | 15–28W (6+ cores) | 32GB | Dual M.2 (mirrored for uptime) | AMD Ryzen 5/7 or Intel P-series |
| Fanless industrial terminal | 6–12W (N100 or similar) | 4–8GB | One SATA SSD | Must use a case like Akasa or HDPlex |
One observation: people often overestimate RAM needs. For a dedicated firewall or router, 4GB is plenty. For a local AI inference box (small LLMs), 32GB becomes necessary. There’s no universal answer – which is exactly why custom builds exist.
Step-by-Step: Assembling a Custom Mini PC Build
Install the CPU into the motherboard (align the triangle, no extra force)
Attach the CPU cooler – low-profile coolers often require removing the fan to reach screws
Insert RAM modules (click until both latches engage – DDR4 or DDR5 depending on board)
Mount the M.2 SSD at a 30-degree angle, then screw it down (tiny screw, easy to lose)
Place the board into the case – check I/O shield alignment first (common frustration)
Connect power switch, LED, and USB headers (refer to motherboard diagram – always)
Attach antennas for Wi-Fi if included (finger-tight only)
Step six is where mistakes happen. Polarity for power LED? Doesn’t matter. For reset switch? Also no polarity. But the speaker header? That one’s annoying. A pair of tweezers helps with these small connectors.
Final Thoughts
A custom mini pc build isn’t for everyone. If the thought of matching RAM speeds or flashing BIOS makes someone anxious, a prebuilt NUC is fine. But for those who enjoy control – and don’t mind a little trial and error – the result is a machine that fits a specific need perfectly. No wasted ports. No oversized cooler. Just a tiny box that does exactly what it was built to do. And that feeling? It’s worth the extra hour of assembly time.
FAQ
Can I put a dedicated GPU in a custom mini pc build?
Sometimes. A few Mini-ITX cases (like the Fractal Design Node 202) support low-profile GPUs, but those aren’t truly “mini” anymore. For ultra-compact builds under 2 liters, the answer is no – integrated graphics only. There are external GPU enclosures via Thunderbolt, but that defeats the portability. So for gaming? Better to buy a small prebuilt with mobile RTX graphics instead of building from scratch.
What’s the hardest part of a mini pc build compared to a normal desktop?
Cable management in a tiny space. Seriously. Standard power supplies have long, stiff cables that don’t bend well inside 2 liters of volume. Many mini builders switch to PicoPSU or GaN power bricks with DC-ATX converters. Also, installing the cooler – low-profile coolers often require removing the motherboard again to access the backplate. It’s fiddly. Expect to curse at least once.
How much does a custom mini pc build typically cost?
Depends wildly. A basic fanless home assistant box (N100, 8GB, 256GB) can be built for around $200–250, but that’s without Windows license. A high-end Ryzen 7 7840HS build with 64GB RAM and dual 2TB SSDs easily hits $800–1000. Compared to prebuilt mini PCs, building your own often saves about 10–20% – but the real value is getting exactly the ports and storage configuration that off-the-shelf models don’t offer.