Looking around modern post-production studios today, the aesthetic has completely shifted. The days of having a massive, heat-generating desktop tower humming loudly under the desk are kind of fading away. It is honestly pretty wild how much computing power fits into a tiny metal box right now. Creators want clean, distraction-free desks without sacrificing the raw horsepower needed to scrub through massive 4K timelines. Setting up a mini PC for video editing has become a highly popular alternative, mostly because modern silicon architecture has finally evolved enough to handle heavy creative workloads without instantly melting down. Getting the configuration right, though, takes a bit of specific planning. You cannot just buy the cheapest box off the shelf and expect professional software like Premiere Pro or DaVinci Resolve to run smoothly.

The Processor and GPU Balance in a mini PC for video editing
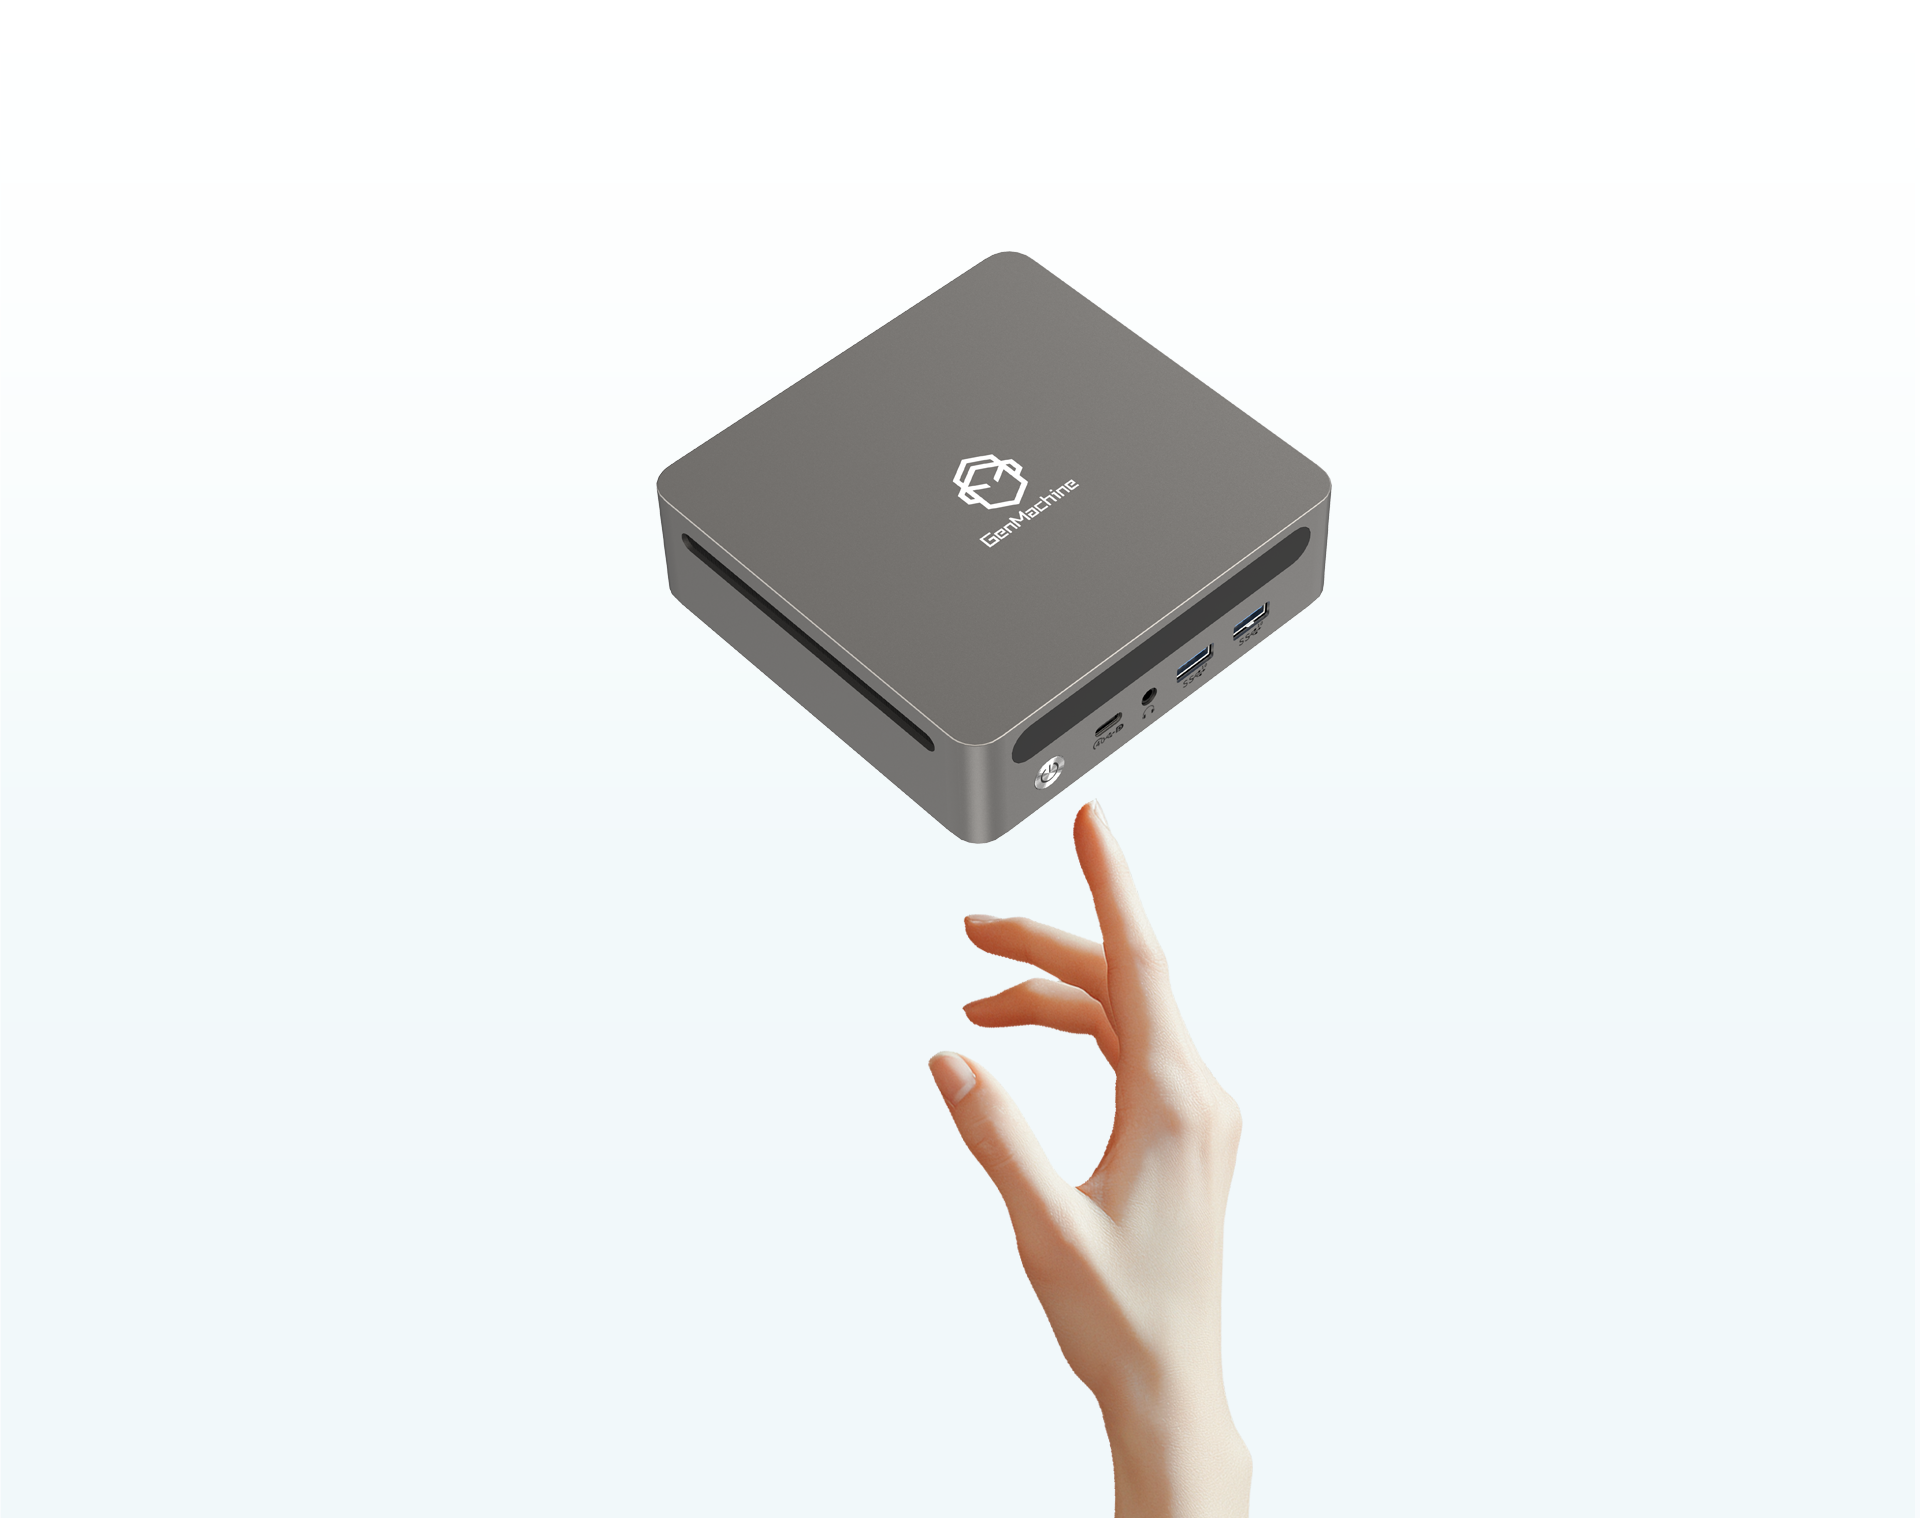
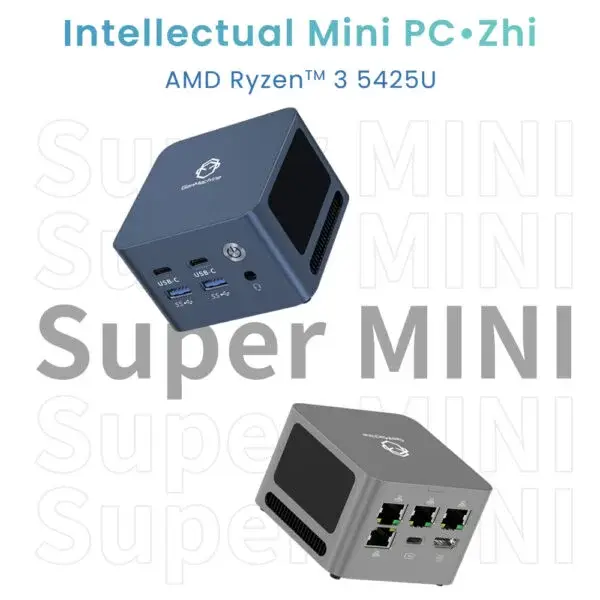
When configuring a tiny system for creative work, the processor is basically the most critical starting point. Video rendering relies heavily on multi-core performance. A solid mini PC for video editing usually needs a high-end mobile processor or a specialized low-wattage desktop chip squeezed into the small chassis. Since space is incredibly tight inside these things, finding a unit with a massive dedicated graphics card is rare (though a few thicker, console-sized models do exist on the market).
Instead, the hardware trend is leaning heavily into integrated APUs that feature surprisingly robust onboard graphics. To keep the editing timeline playback smooth, there are a few specific hardware traits to prioritize:
High core and thread counts to handle background rendering tasks and audio processing efficiently.
Hardware-level media decoders built directly into the chip to smoothly playback heavy H.265 or ProRes video files.
Efficient power scaling so the system is not constantly drawing maximum wattage and creating unnecessary ambient heat in the room.
Memory and Storage Configurations for a mini PC for video editing
Modern video footage files are getting ridiculously huge. Trying to edit a modern documentary or commercial project on a machine with limited memory is just an exercise in pure frustration (and honestly, it is a total workflow killer). When putting together a custom mini PC for video editing, maxing out the internal RAM is pretty much non-negotiable. While 16GB used to be fine, today it is just the absolute bare minimum. Pushing the system to 32GB or even 64GB of memory is really the sweet spot for avoiding timeline stuttering.
Then there is the storage situation. Because the physical footprint of a high-performance mini PC is so incredibly small, there usually is not any room for bulky, traditional mechanical hard drives. It is all about cramming in fast NVMe solid-state storage.
| Component Requirement |
Bare Minimum for 1080p |
Recommended for 4K Workflows |
The “Why It Matters” Factor |
|---|---|---|---|
System RAM |
16GB DDR4 |
32GB to 64GB DDR5 |
Prevents the editing software from crashing when adding heavy color grades |
Internal Boot Drive |
512GB Gen3 NVMe |
2TB+ Gen4 NVMe |
Faster read speeds mean no annoying lag when dragging the playhead |
External Connectivity |
Standard USB 3.0 |
Thunderbolt 4 / USB4 |
Essential for hooking up massive external RAID storage enclosures |
Managing Heat and Connections on a mini PC for video editing
Running a heavy video export file is going to make any machine run hot. That is just an inescapable fact of computing. However, successfully configuring a high-performance mini PC for video editing means paying very close attention to the airflow design. The best setups on the market right now utilize liquid metal thermal paste and advanced vapor chambers to keep the internal fans from sounding like a jet engine taking off. Nobody wants to wear noise-canceling headphones just to endure the sound of their computer rendering out a basic YouTube video.
Setting up the actual desk workflow requires a bit of logical sequencing, mostly because these small devices rely heavily on external connections to function as proper editing bays:
Hook up the primary ultra-wide or color-accurate editing monitor using the highest bandwidth port available (usually DisplayPort or a dedicated USB-C video out).
Daisy-chain any massive external storage drives using a Thunderbolt connection, ensuring the scratch disks have the fastest possible data pipeline to the main board.
Connect necessary creative peripherals, like editing control dials or studio audio interfaces, through a powered USB hub to keep the main unit’s ports free for heavy data transfers.
FAQ
Is a mini PC for video editing actually capable of handling 4K timeline scrubbing?
Yes, absolutely. As long as the specific mini PC for video editing is configured with a modern, high-tier processor and at least 32GB of fast RAM, scrubbing through a 4K timeline is surprisingly smooth. Furthermore, utilizing proxy files within the editing software makes the process completely seamless, even on smaller hardware configurations.
Can external graphics cards be used if more rendering power is needed?
This is actually a massive selling point for these tiny computers. Many high-end models feature Thunderbolt 4 or dedicated ultra-fast Oculink ports. If a project suddenly requires heavy 3D motion graphics or intense noise reduction, an external GPU enclosure can be plugged right in, essentially turning the tiny box into a desktop-level rendering farm on the fly.
Does rendering out a final video take significantly longer on smaller computers?
It highly depends on the thermal limits of the exact machine. A well-cooled mini PC for video editing will usually export a project in roughly the same amount of time as a mid-range desktop tower. However, if the cooling system is poorly designed, the internal chips will automatically slow down to prevent heat damage, which can definitely add a few extra minutes to a massive export.