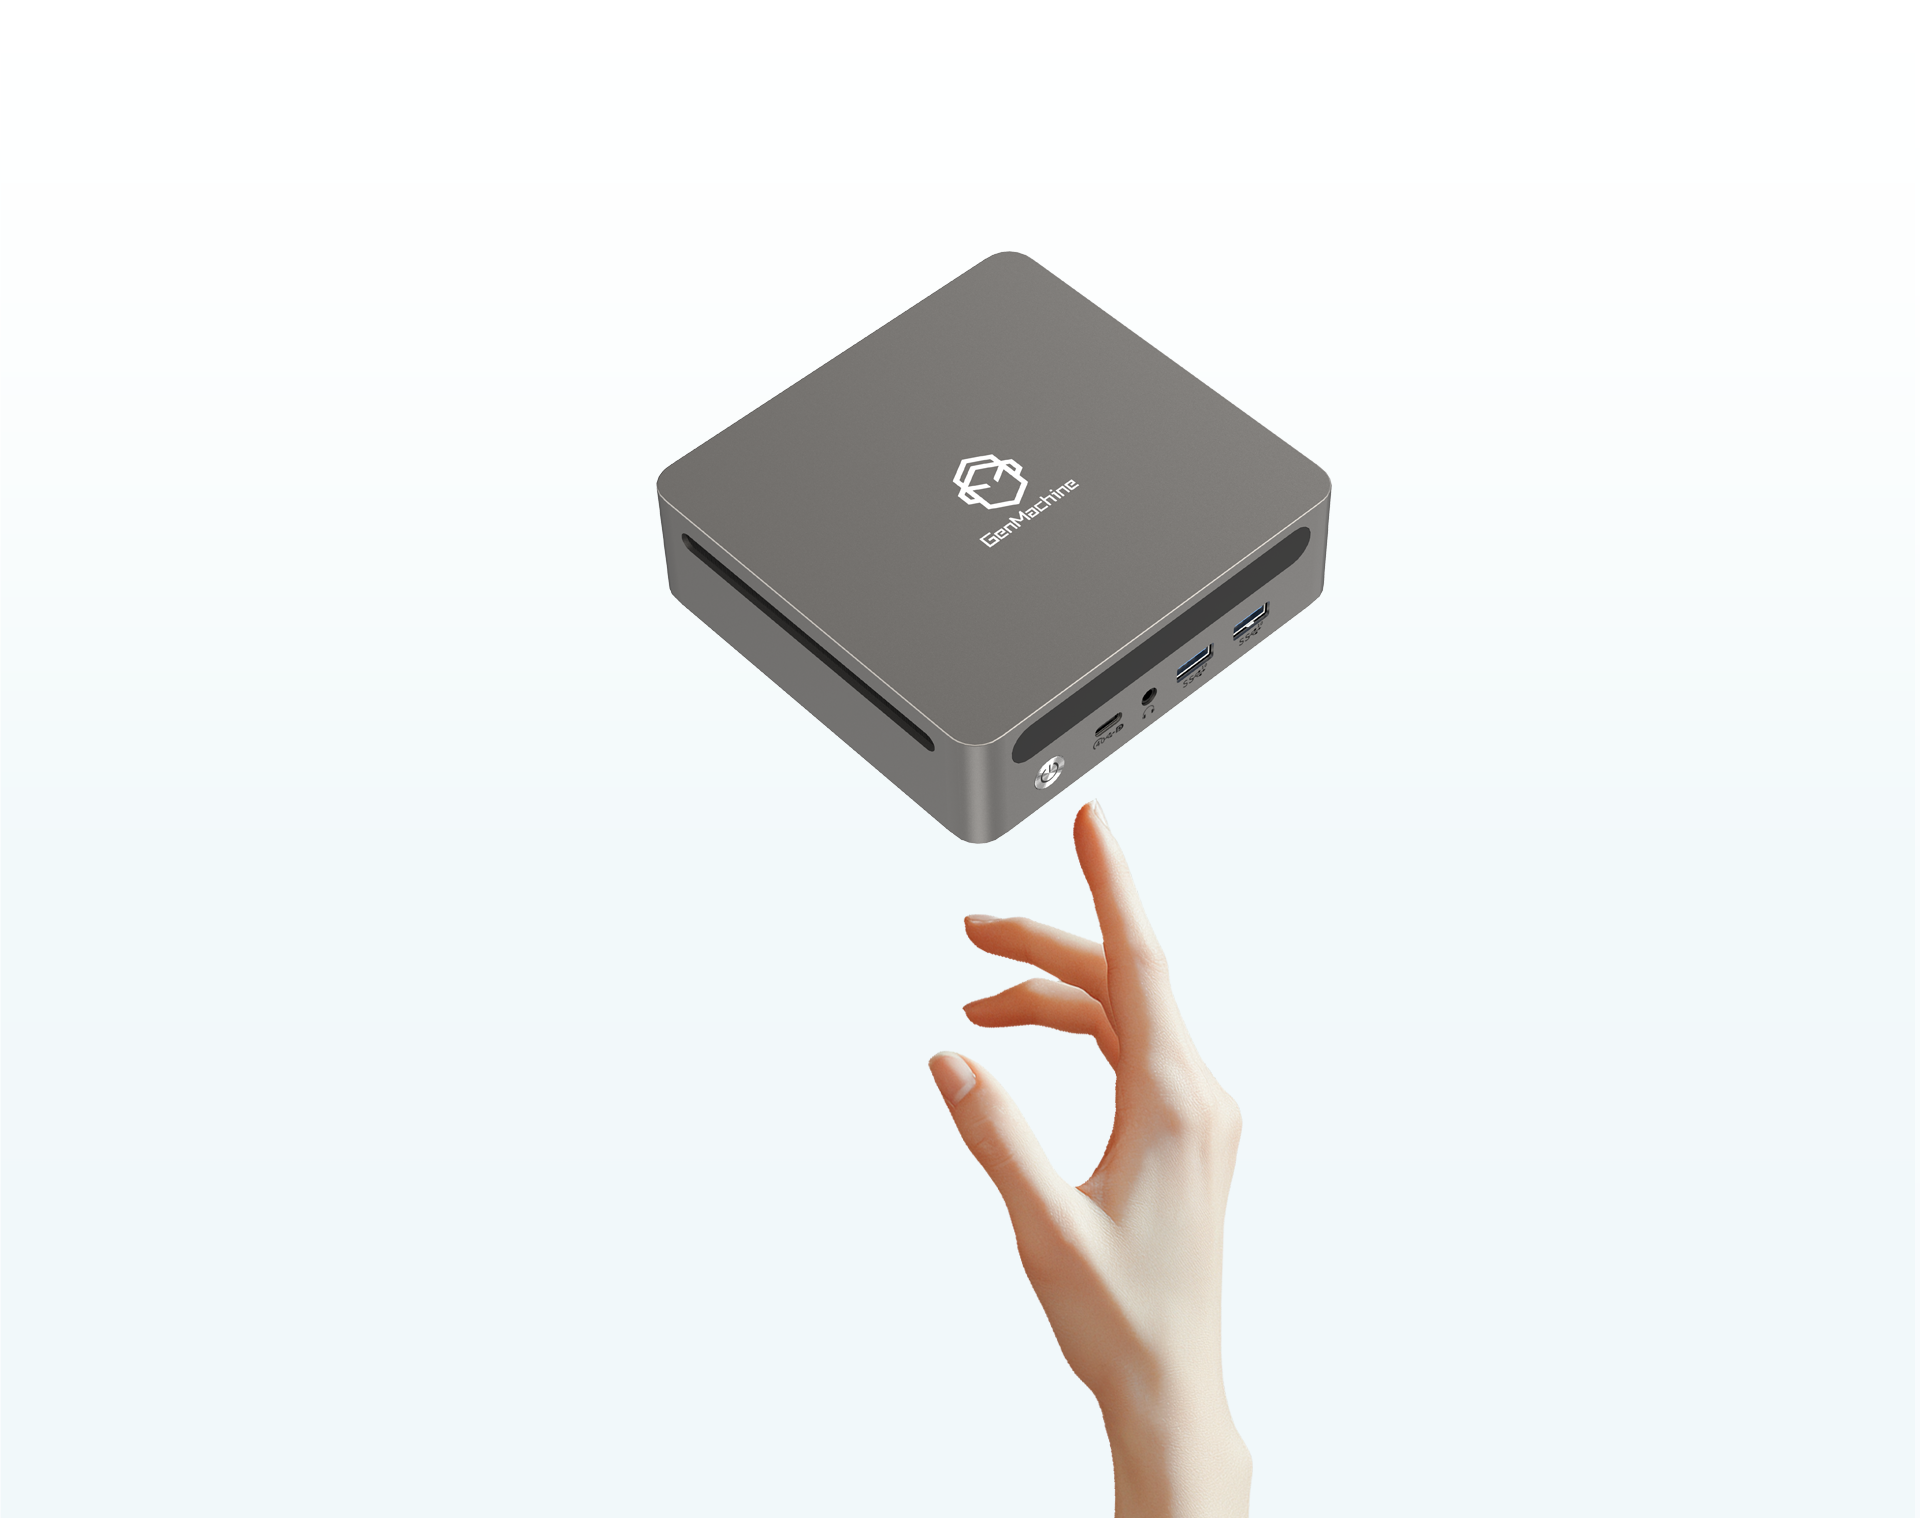
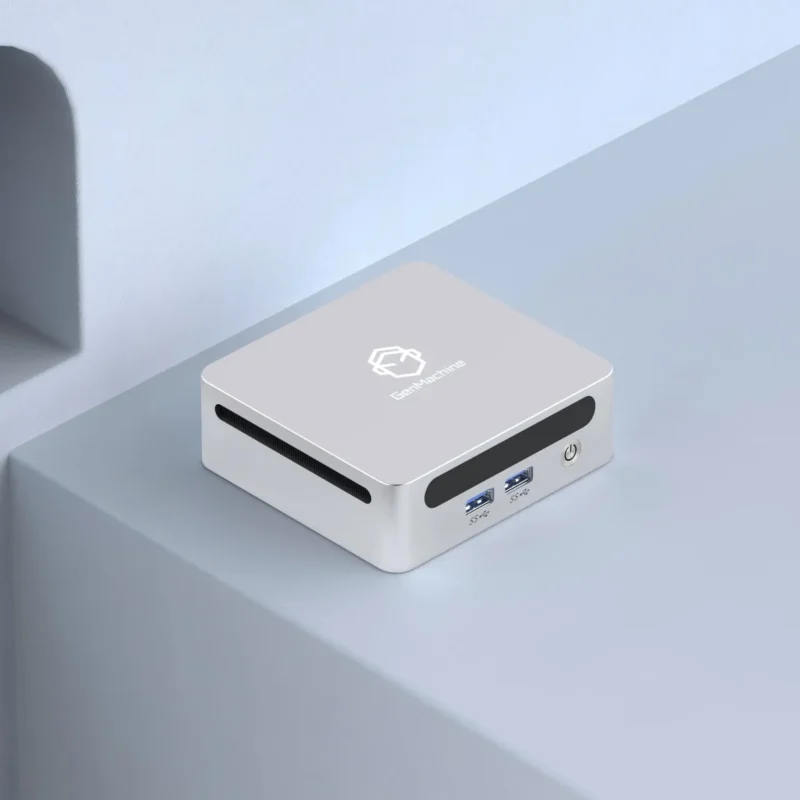
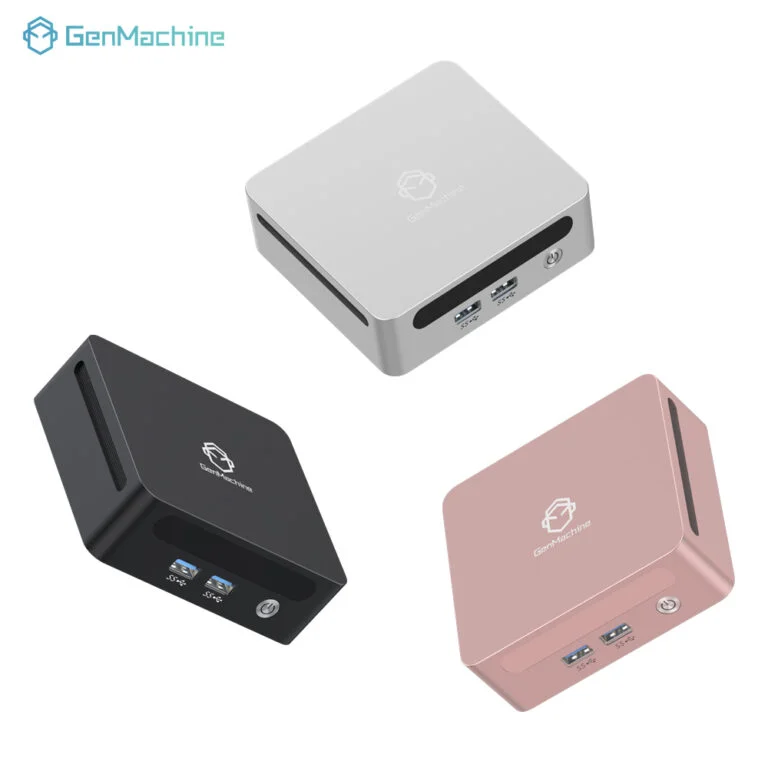
Getting a new piece of technology delivered is always a bit of a thrill. Peeling off the factory shrink wrap and seeing just how absurdly small modern computing has become is kind of wild. A Mini PC basically looks like a slightly oversized streaming box or a thick paperback book, yet it somehow holds enough processing power to run an entire office desk or a living room media center.
But just pulling it out of the cardboard and blindly plugging things in isn’t always the smartest approach. Hardware is finicky. There is definitely a right way to get things rolling to avoid strange thermal throttling, random blue screens, or annoying driver issues down the line. Setting things up with a bit of intentional patience pays off massively in the long run.
Step 1: Placing the Mini PC for Optimal Airflow
Finding the right physical spot on the desk is surprisingly important. It is really tempting to just shove a Mini PC behind a thick stack of books or bury it in a closed wooden desk drawer because, well, it fits perfectly in those tight spaces. But these tiny machines pack laptop-grade (or sometimes even heavy desktop-grade) processors into a tiny metal chassis with very little breathing room.
Step 2: Connecting the Mini PC to Peripherals and Power
Next comes the inevitable spaghetti mess of cables. Because the ports on a Mini PC are crammed so tightly together on the back panel, routing wires neatly actually takes a little bit of manual planning. It is usually easiest to plug in the thickest, most stubborn cables first before moving on to the smaller, more flexible connections.
Here is a rough mental checklist of what needs to be plugged in before even thinking about touching the power button:
The primary monitor display cable (making sure it goes into the correct high-speed port for optimal refresh rates).
A standard wired keyboard and mouse, just in case the system’s wireless Bluetooth drivers aren’t active straight out of the box.
An Ethernet cable, if relying on a highly stable wired network connection instead of standard Wi-Fi.
The power brick, which should honestly always be plugged directly into a surge protector rather than straight into the wall socket.
Step 3: First Boot and Operating System Setup for Your Mini PC
Hitting that power button for the very first time is usually followed by a slightly agonizing, silent wait. The initial boot process always takes longer than a normal startup. The operating system has to slowly unpack itself, configure hidden local files, and usually asks a dozen vague questions about location tracking and network connections.
It is highly recommended to decline most of the optional data-sharing agreements and telemetry requests during this setup phase. Keeping background tracking to an absolute minimum is just good practice. Getting a pristine, clean desktop environment on a Mini PC right from the start sets the foundation for a much faster daily computing experience.

Step 4: Updating Drivers and Mini PC Firmware
Straight out of the factory box, the internal software is practically guaranteed to be drastically out of date. The machine might have been sitting on a warehouse shelf for six or seven months before it finally arrived at the front door. Running the system update tool is the very next thing that has to happen. It is tedious, sure, but skipping this step is just asking for random screen flickering or dropped internet signals later on.
There are a few different types of updates to look out for, and they all handle slightly different tasks behind the scenes:
| Update Type | What It Actually Does | Urgency Level |
|---|---|---|
OS Security Patches | Fixes hidden background vulnerabilities and weird software bugs. | Very High |
Graphics Drivers | Smooths out video playback and fixes annoying monitor scaling issues. | High |
System BIOS | Improves overall hardware stability and adjusts fan speed controls. | Medium |
Wireless Drivers | Stops Bluetooth accessories from randomly disconnecting mid-use. | Medium |
Step 5: Optimizing the Mini PC Storage and Background Apps
Finally, there is the digital cleanup phase. A lot of these machines come with pre-installed bloatware. Antivirus trials that constantly pop up on the screen, random cloud storage apps, or weird manufacturer control centers just sit there eating up system memory. Since a typical Mini PC often has somewhat limited starting RAM compared to a massive gaming tower, keeping the background process list incredibly thin is crucial.
Taking just a few minutes to optimize the software goes a long way:
Open the primary system settings and navigate directly to the installed apps list.
Ruthlessly uninstall any obvious trial software or random casual games that came pre-loaded.
Go to the startup apps menu and disable everything that doesn’t strictly need to launch the second the computer turns on.
Empty the digital recycle bin to permanently reclaim that little bit of extra solid-state drive space.
FAQ
Can a Mini PC be mounted directly behind a computer monitor?
Yes, this is actually incredibly common and highly encouraged. Most models come with a standard VESA metal mounting bracket right inside the box. Screwing that bracket into the back of a compatible monitor and sliding the computer into place basically turns the whole setup into a makeshift all-in-one desktop, completely clearing the desk surface of cable clutter.
Does leaving a Mini PC turned on all the time damage the hardware?
Not exactly, but it isn’t completely ideal over a long period. Modern processors are very smart about entering low-power sleep states when not actively being used. However, because the internal cooling fans are so small, letting them spin continuously for months on end will eventually wear out the tiny mechanical bearings. It is usually a good habit to just shut the system down completely at the end of the day.
Can the internal storage or memory be upgraded later on?
It really depends on the specific brand and physical model. A lot of standard units have a convenient pop-off bottom panel that reveals extra RAM slots and an empty bay for a second hard drive. But some of the ultra-thin, highly compact models solder everything permanently to the main board, meaning whatever specifications it originally shipped with are exactly what it will have forever.