Watching the evolution of desk aesthetics over the last decade, it is pretty clear that giant, obnoxious desktop towers are gradually losing their charm. There is something undeniably sleek about having a totally clean, minimalist desk where the actual hardware is barely noticeable. Creating a custom mini gaming computer build has kind of become the ultimate weekend project for tech enthusiasts. It just feels incredibly satisfying to cram an absurd amount of graphical processing power into a metal box that is barely larger than a shoebox.
But putting together a mini gaming computer build is not exactly like snapping together regular computer parts. It requires a completely different mindset. In a massive standard case, there is endless empty space to hide messy cables or shove in a slightly oversized cooling fan just because it looks cool. Going small means practically every single millimeter of empty space has to be accounted for (which can honestly be incredibly stressful if not planned properly).

Choosing the Case for a custom mini gaming computer build
Everything in a small form factor setup revolves entirely around the metal shell. Picking the case first is pretty much the only way to do a mini gaming computer build correctly, mostly because the chassis dictates every single subsequent hardware purchase. The market right now is absolutely flooded with weird and fascinating case designs. Some stand up tall like modern art sculptures to save desk footprint, while others use a sandwich layout that places the graphics card completely behind the motherboard to keep things flat.
Once the case is chosen, the motherboard size is locked in. These compact setups exclusively use mini-ITX motherboards, which are wildly dense little squares of silicon that somehow fit all the necessary desktop features into a tiny space. They only have one expansion slot for a graphics card, but that is generally all anyone really needs anyway.
Managing Hardware and Heat in a mini gaming computer build
The biggest hurdle when planning a mini gaming computer build is always going to be the heat. It is just basic physics at work. Putting a power-hungry processor and a massive, thick graphics card right next to each other essentially creates a tiny oven on the desk. If the hot air cannot escape quickly enough, the hardware will literally choke itself, dropping frame rates dramatically just to avoid melting down the internal components.
Navigating the cooling situation usually requires some serious compromises. Sometimes a massive air cooler just physically bumps against the glass side panel, meaning a pivot to a low-profile fan or a customized liquid cooling loop is suddenly mandatory.
| Component Choice | Spatial Impact | Cooling Efficiency | Common Frustrations |
|---|---|---|---|
Low-Profile Air Cooler | Takes up very little room | Decent, but can get quite loud under load | Sometimes physically blocks tall memory sticks |
240mm Liquid Cooler | Requires specific case mounting space | Excellent for taming extremely hot processors | Thick tubing can be a nightmare to bend |
Blower-Style GPU | Fits almost anywhere | Pushes hot exhaust air directly out the back | Sounds vaguely like a jet engine running |

The Assembly Order for a mini gaming computer build
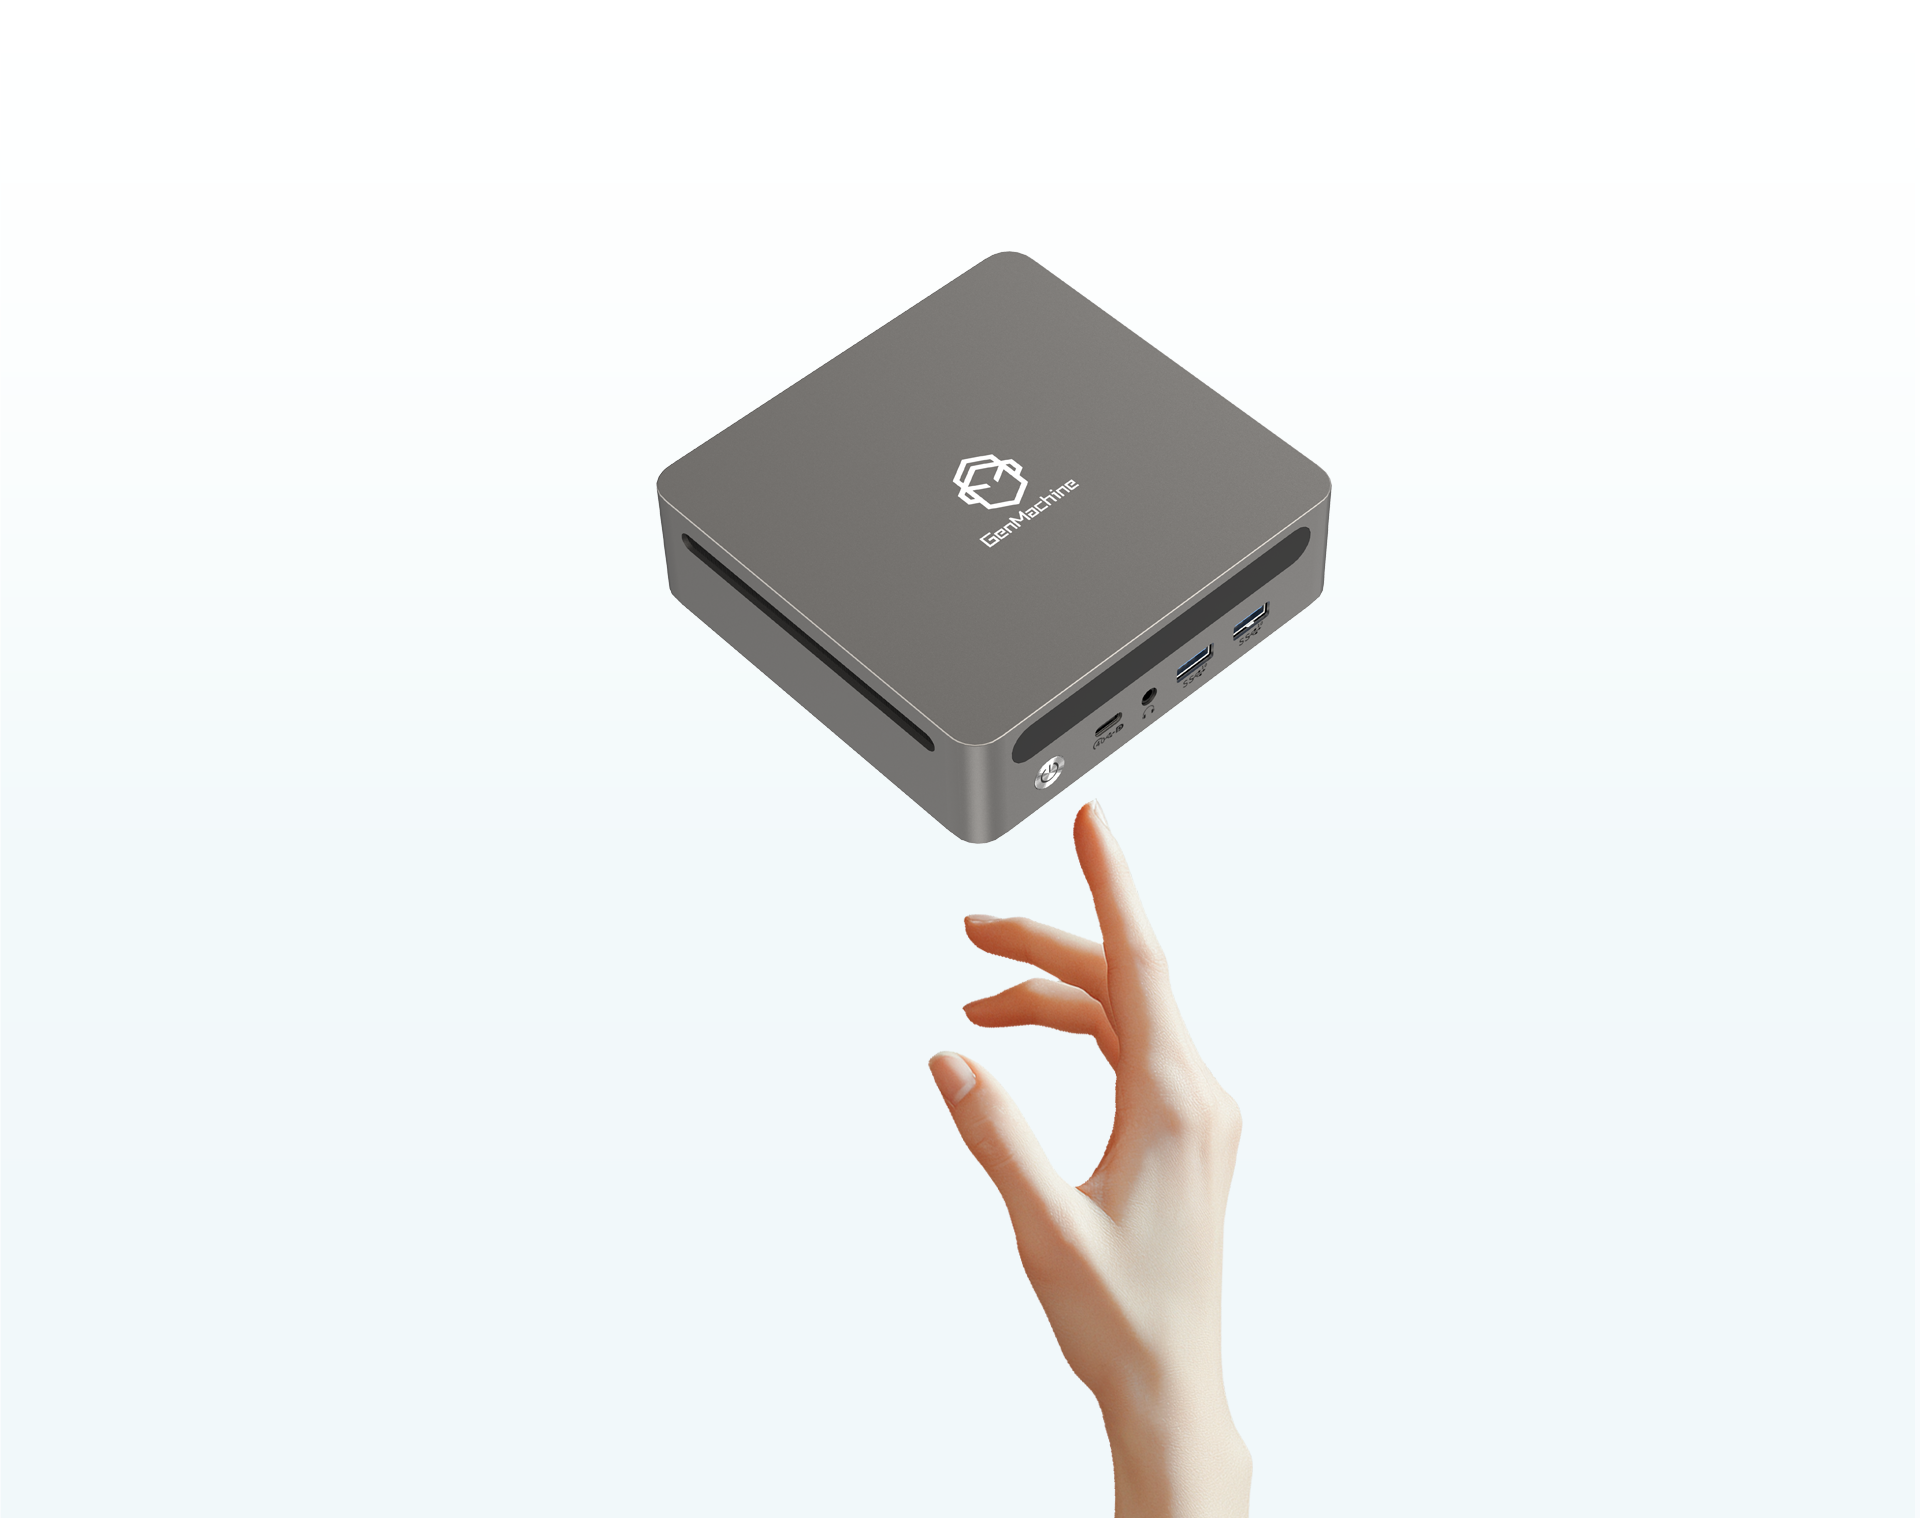
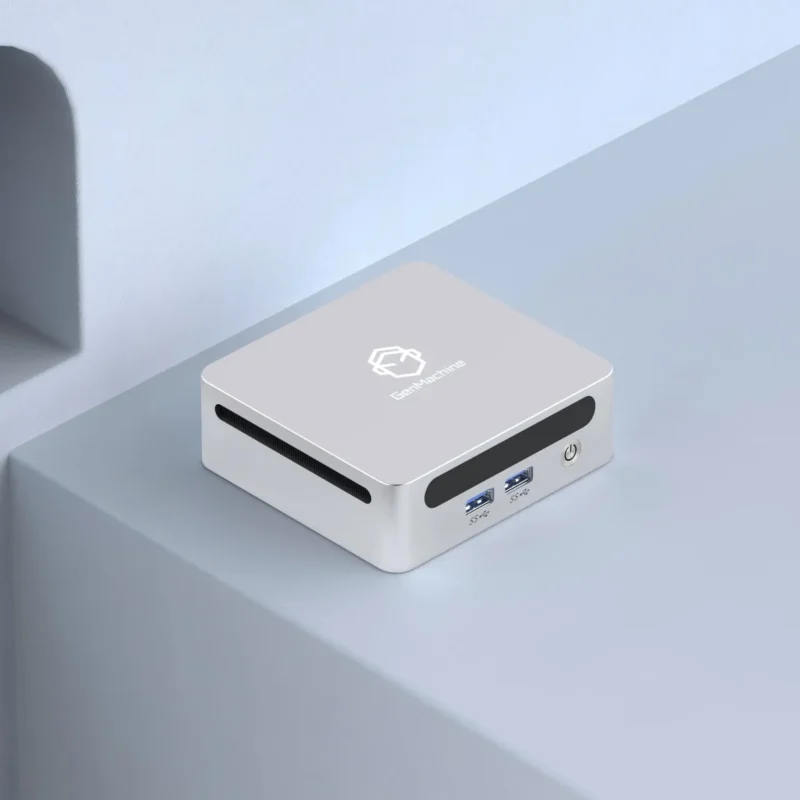
Building a normal sized computer is incredibly forgiving. If a tiny cable is forgotten, one can just reach a hand inside later and plug it in without much trouble. That luxury absolutely does not exist during a 4700U AMD Mini PC build. Once the heavy components are screwed down, reaching the bottom corner of the motherboard is physically impossible. This makes the actual order of operations incredibly important.
There are a few things that should always be pre-assembled before the board ever touches the metal case:
The processor and its thermal paste application.
The tiny M.2 solid-state storage drives.
The system memory sticks.
After the board is fully prepped, the actual physical installation process usually follows a very strict path to avoid headaches later on:
Install the main power supply and route the thickest cables toward where they eventually need to go, pre-bending them if necessary.
Mount the motherboard and carefully attach the fragile front panel wires (like the power button and audio jacks).
Install the cooling solution, bending any stiff liquid cooling tubes carefully to avoid kinking them against the metal frame.
Slot the massive graphics card in at the very end, as its sheer bulk generally covers up everything else in the system.
FAQ
Are these smaller systems noticeably more expensive?
Yeah, there is definitely a premium associated with miniaturized hardware. Because manufacturers have to densely pack complex circuitry onto tiny ITX motherboards and into compact SFX power supplies, the base manufacturing costs naturally go up. While a mini gaming computer build used to be ridiculously expensive to put together, the “small form factor tax” has actually dropped quite a bit as these setups become more mainstream, though they still cost slightly more than buying a bulky traditional tower.
Will a smaller computer run games worse?
Not inherently. The silicon chips perform exactly the same regardless of what size box they are sitting inside. The only time a mini gaming computer build loses performance is if the internal cooling is so poorly planned that the system starts thermal throttling to survive. As long as there is adequate airflow (usually achieved via perforated mesh side panels instead of solid tempered glass), the frame rates will perfectly match a giant computer.
Is cable management actually that difficult?
It is definitely tedious, to be totally honest. Instead of just lazily stuffing excess cables out of sight behind a back panel like in a normal case, a mini gaming computer build often requires buying custom-length cables or utilizing very strategic zip-tying to keep stray wires out of the spinning cooling fans. It requires a lot of patience, but the final, ultra-clean aesthetic makes the temporary frustration completely worth it in the end.